Poor restroom design costs businesses money through wasted space and user complaints. A well-planned toilet partition layout maximizes capacity while meeting accessibility standards.
We at Partition Stalls see facilities struggle with cramped stalls and inefficient traffic flow daily. Smart planning prevents these expensive mistakes and creates comfortable, compliant restrooms that serve users effectively.
Measuring and Planning Your Restroom Space
Start with precise measurements of your entire restroom space. Record length, width, and any irregular angles or alcoves. Standard toilet stalls require 36 inches width and 60 inches depth, while ADA-compliant accessible stalls need minimum 60 inches width with 56-59 inches depth (depending on toilet mounting). Document ceiling height since standard partitions measure 58 inches but privacy-focused installations reach 84-92 inches. Mark existing plumbing rough-ins on your floor plan, noting that relocating drain lines costs $500-2,000 per fixture according to construction industry data.
Traffic Flow Analysis
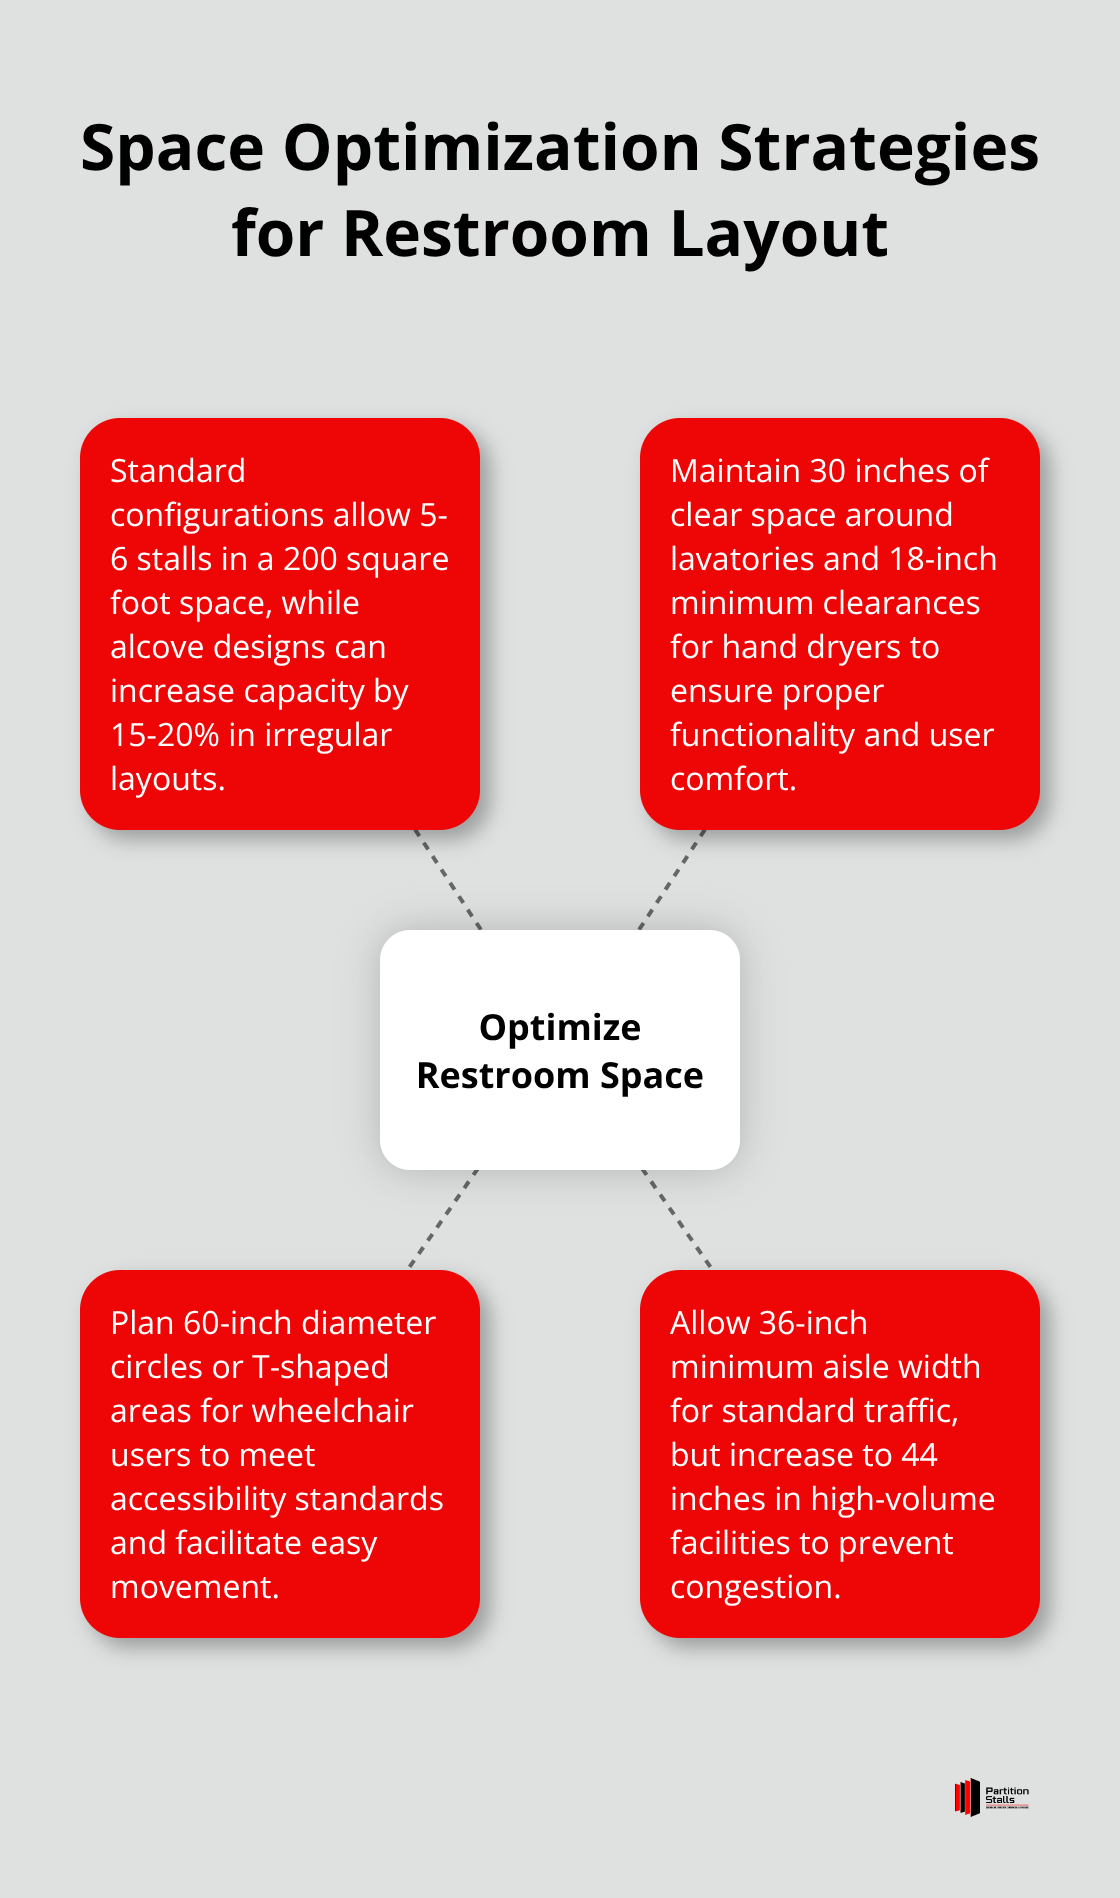
Map entrance and exit points to prevent bottlenecks during peak usage periods. Position stalls away from the main entrance to reduce visibility and noise transfer. Schools typically see 3-5 minute peak periods between classes, while office buildings experience morning and lunch rushes lasting 15-20 minutes. Plan 36-inch minimum aisle width for standard traffic, but increase to 44 inches in high-volume facilities. Consider door swing directions carefully – outward-opening doors require additional clearance but improve emergency access and ADA compliance.
Structural Constraints Assessment
Identify load-bearing walls, HVAC ducts, and electrical conduits that limit partition placement options. Floor-mounted partitions need solid subflooring, while ceiling-hung systems require structural support. Note water supply lines, electrical outlets, and ventilation requirements early in planning. Existing tile work or flooring changes add $3-8 per square foot to renovation costs, making accurate initial measurements essential for budget planning.
Space Optimization Strategies
Calculate maximum stall capacity while maintaining user comfort. Standard configurations allow 5-6 stalls in a 200 square foot space, but alcove designs can increase capacity by 15-20% in irregular layouts. Account for required clearances around fixtures – lavatories need 30 inches of clear space, while hand dryers require 18-inch minimum clearances. Plan turning space for wheelchair users with 60-inch diameter circles or T-shaped areas to meet accessibility standards.
Once you establish accurate measurements and space constraints, selecting appropriate partition materials becomes the next critical decision in your layout process.
Choosing the Right Partition Materials and Configurations
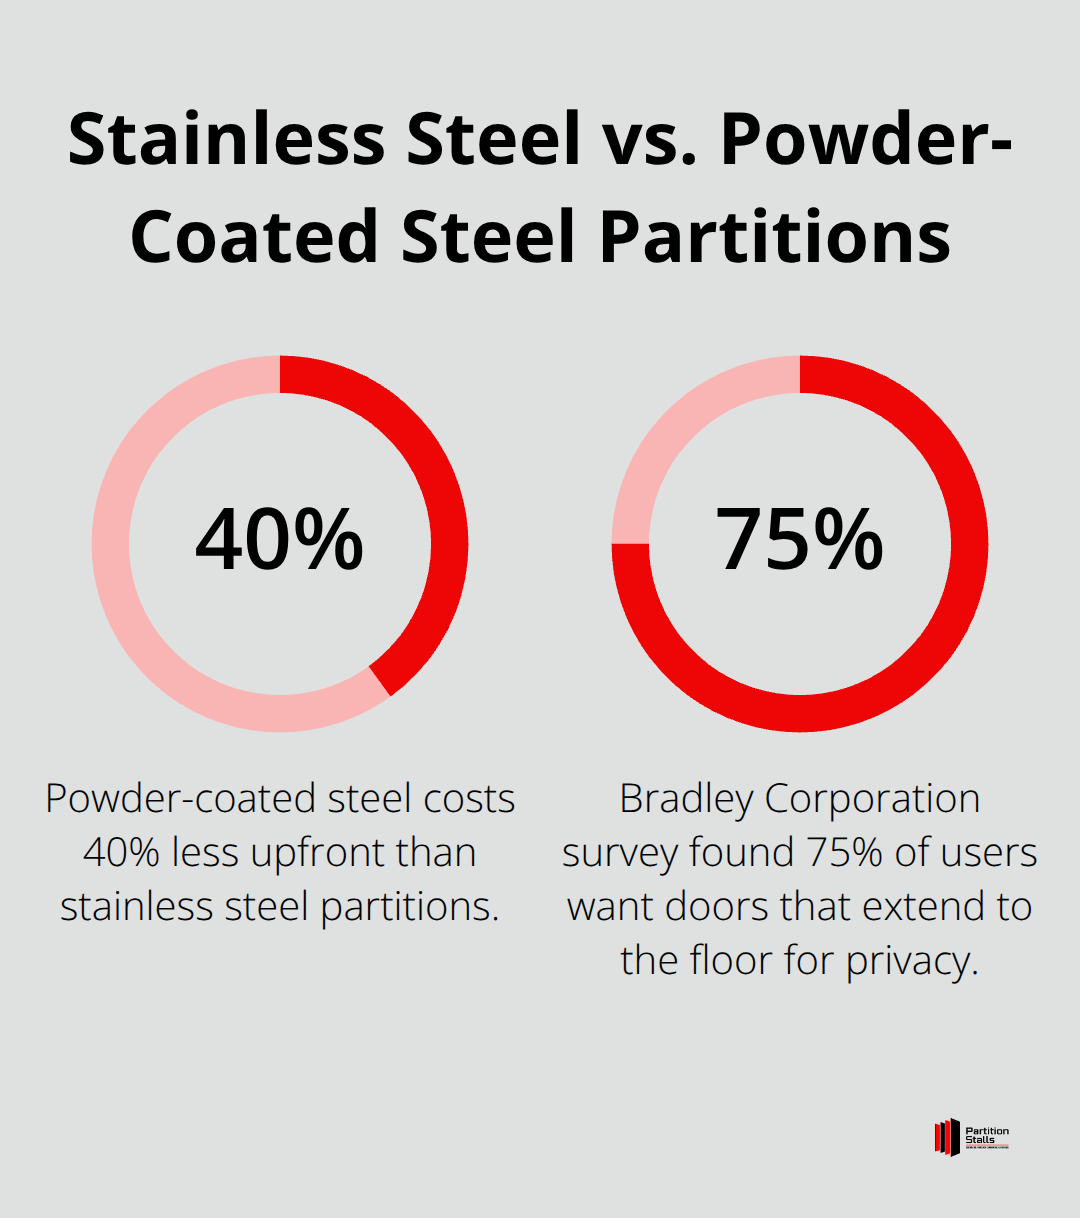
Stainless steel partitions dominate high-traffic environments because they’re built to withstand constant use and heavy foot traffic. Airports & Transit Centers and schools where daily usage exceeds 200 people per stall benefit most from stainless steel installations. These partitions resist vandalism, scratches, and moisture damage that destroys powder-coated steel within 5-7 years. Powder-coated steel costs 40% less upfront but requires replacement twice as often, which makes stainless steel the superior long-term investment. Solid plastic HDPE partitions outperform both metals in wet environments like pools and gyms (they offer complete moisture resistance and graffiti-proof surfaces that clean with basic soap and water).
Door Configuration Strategy
Outward doors maximize interior stall space and improve ADA compliance, but they require more corridor clearance than inward doors. Standard 24-inch door widths work for most applications, but oversized 32-inch doors enhance user comfort and accessibility. The Bradley Corporation survey found 75% of users want doors that extend to the floor, but this creates maintenance challenges and emergency access issues. Install doors with 12-inch floor gaps and 78-inch heights for optimal privacy while you maintain safety access.
Privacy Height Selection
Standard 58-inch partitions leave 24-inch sight gaps that compromise privacy according to restroom user surveys. Upgrade to 72-inch partitions eliminates standing sight lines while it maintains emergency visibility. Full-height 84-inch partitions provide maximum privacy but increase costs by 35% and complicate ventilation requirements. Schools and offices benefit from 72-inch heights, while luxury establishments justify full-height installations for premium user experience. Gap spacing of 1/2 inch between door and frame provides adequate privacy while it allows proper ventilation and emergency access (this spacing also facilitates emergency response when needed).
Material Performance Comparison
Phenolic core partitions excel in extreme moisture conditions and resist impact damage better than traditional materials. These partitions cost 25% more than powder-coated steel but last 12-15 years in harsh environments. Plastic laminate offers the widest color selection and moderate durability at mid-range pricing. Customization options allow you to choose colors, materials, and configurations that align with your brand. Solid plastic partitions eliminate rust concerns entirely and maintain appearance in coastal facilities where salt air corrodes metal options within 3-5 years.
Proper material selection sets the foundation for successful installation, but positioning and compliance requirements determine whether your layout functions efficiently for daily operations.
Installation Best Practices for Maximum Efficiency
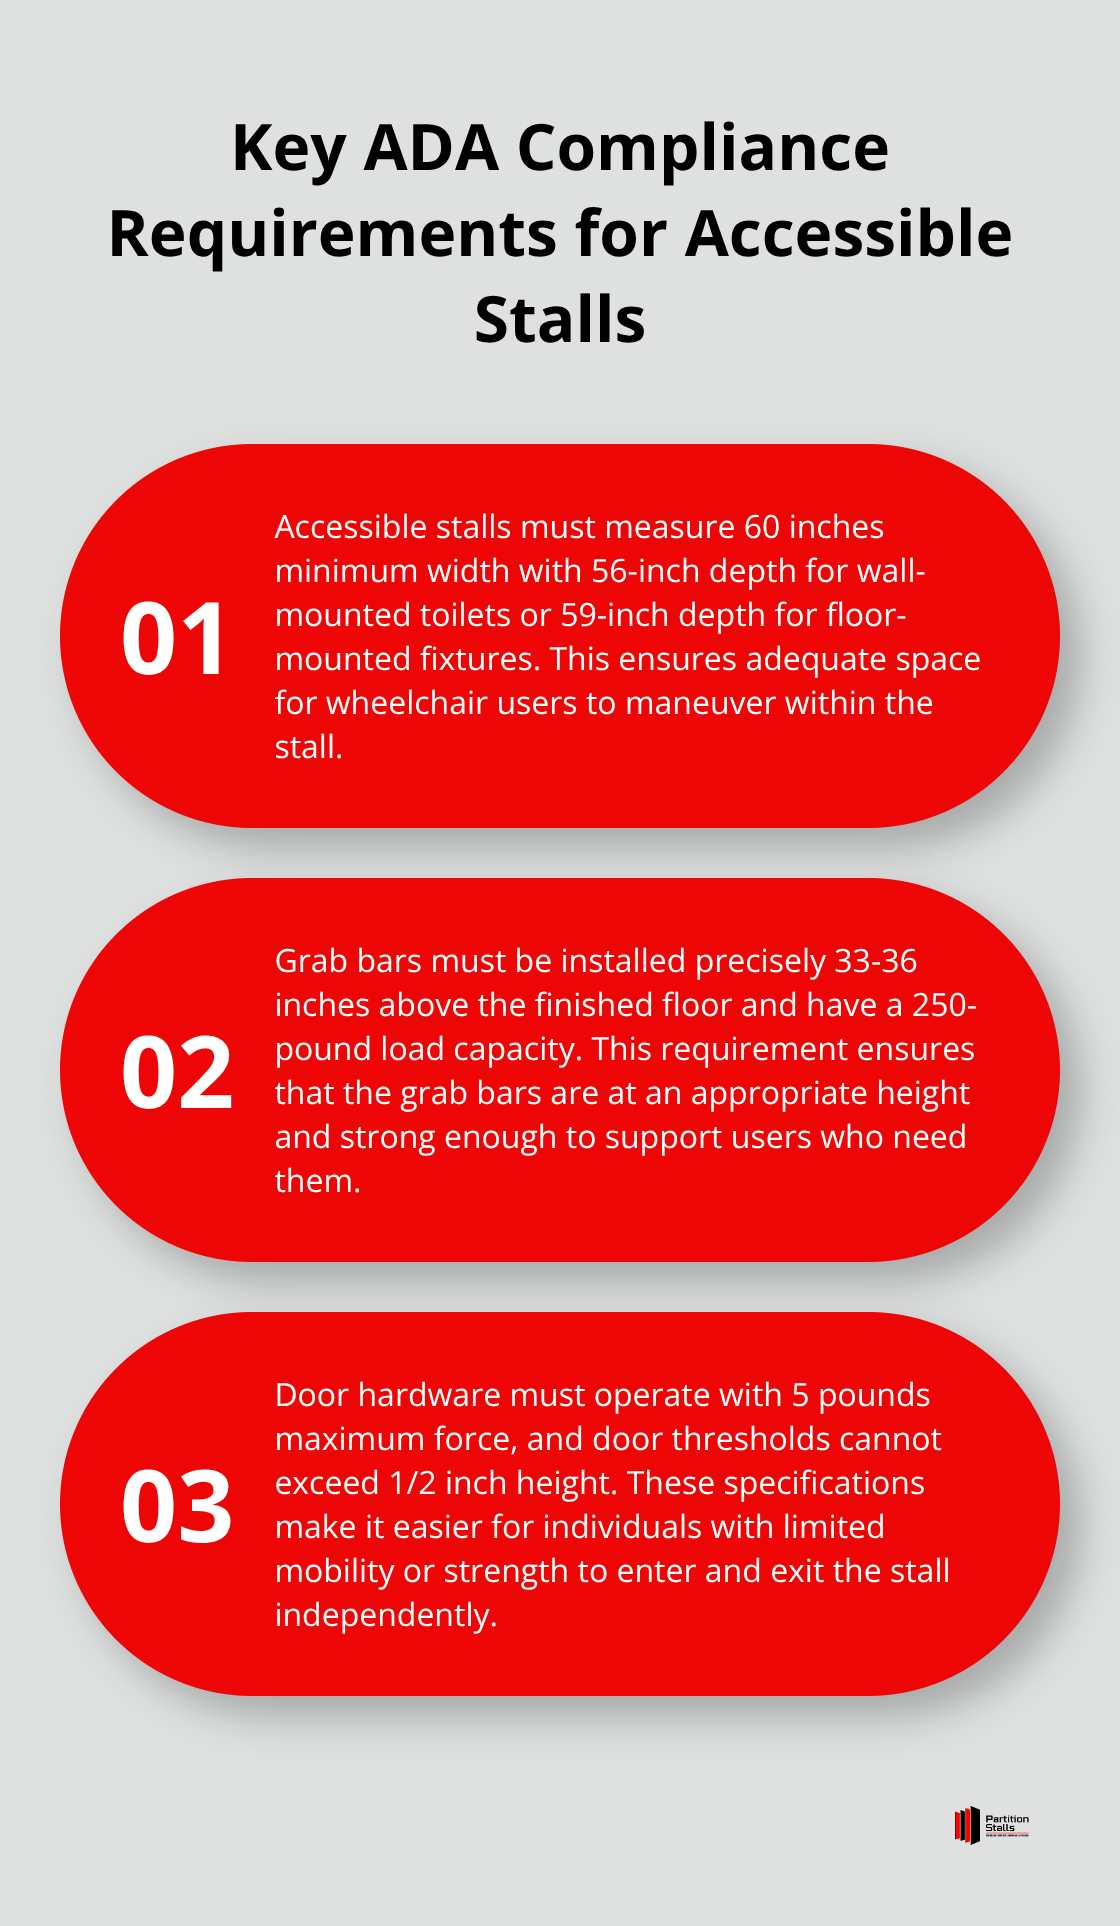
ADA compliance demands accessible stalls measure 60 inches minimum width with 56-inch depth for wall-mounted toilets or 59-inch depth for floor-mounted fixtures. Place accessible stalls closest to the restroom entrance to reduce travel distance for users with mobility aids. Install grab bars precisely 33-36 inches above finished floor with 250-pound load capacity as federal standards mandate. Door hardware must operate with 5 pounds maximum force, and door thresholds cannot exceed 1/2 inch height. The International Building Code requires accessible stalls in facilities with six or more fixtures, which makes proper placement non-negotiable for code compliance.
Stall Count Optimization
Standard 36-inch wide stalls maximize capacity in rectangular layouts, but 42-inch stalls improve user comfort without significant space loss. Calculate 6-8 square feet per user for peak capacity planning in high-traffic facilities. Position partitions with 44-inch aisle width in schools and transit centers where simultaneous usage creates congestion. Avoid placing stalls directly opposite each other – offset placement reduces door collision risks and improves traffic flow. Corner installations save 18-24 inches compared to center-mounted partitions (this allows additional fixtures in tight spaces). Install floor-mounted partitions in renovation projects where ceiling access is limited, but specify ceiling-hung systems in new construction for easier cleaning and maintenance access.
Construction Coordination Strategy
Schedule partition installation after plumbing rough-ins but before electrical finish work to prevent conflicts. Coordinate with HVAC contractors to maintain 12-inch clearance around ventilation grilles and avoid blocking air circulation patterns. Mark electrical outlet locations for hand dryers and automatic fixtures before partition installation begins. Floor preparation requires level surfaces within 1/4 inch tolerance to prevent door alignment issues and partition stability problems. Specify stainless steel hardware in coastal locations where standard steel corrodes within 24 months due to salt air exposure (this prevents premature replacement costs). Install partitions after tile work completion but before final plumbing fixture installation to prevent damage during construction phases.
Final Thoughts
Successful toilet partition layout requires three fundamental elements: accurate space measurement, appropriate material selection, and compliant installation practices. Facilities that skip proper planning face costly renovations within 3-5 years due to inadequate capacity or accessibility violations. Smart toilet partition layout decisions prevent these expensive mistakes from the start.
Proper planning delivers measurable returns through reduced maintenance costs and improved user satisfaction. Stainless steel partitions in high-traffic areas eliminate replacement expenses for 15-20 years, while strategic stall placement increases capacity by 15-20% without expansion of square footage. ADA-compliant layouts prevent expensive retrofits and potential legal issues that cost businesses thousands in penalties (these violations often result in mandatory facility closures during corrections).
Complex projects benefit from professional consultation to avoid common installation mistakes. We at Partition Stalls help clients optimize space utilization and maintain code compliance for various facility types. Professional expertise transforms challenging spaces into efficient, compliant restrooms that serve users effectively for decades while maximizing investment value.