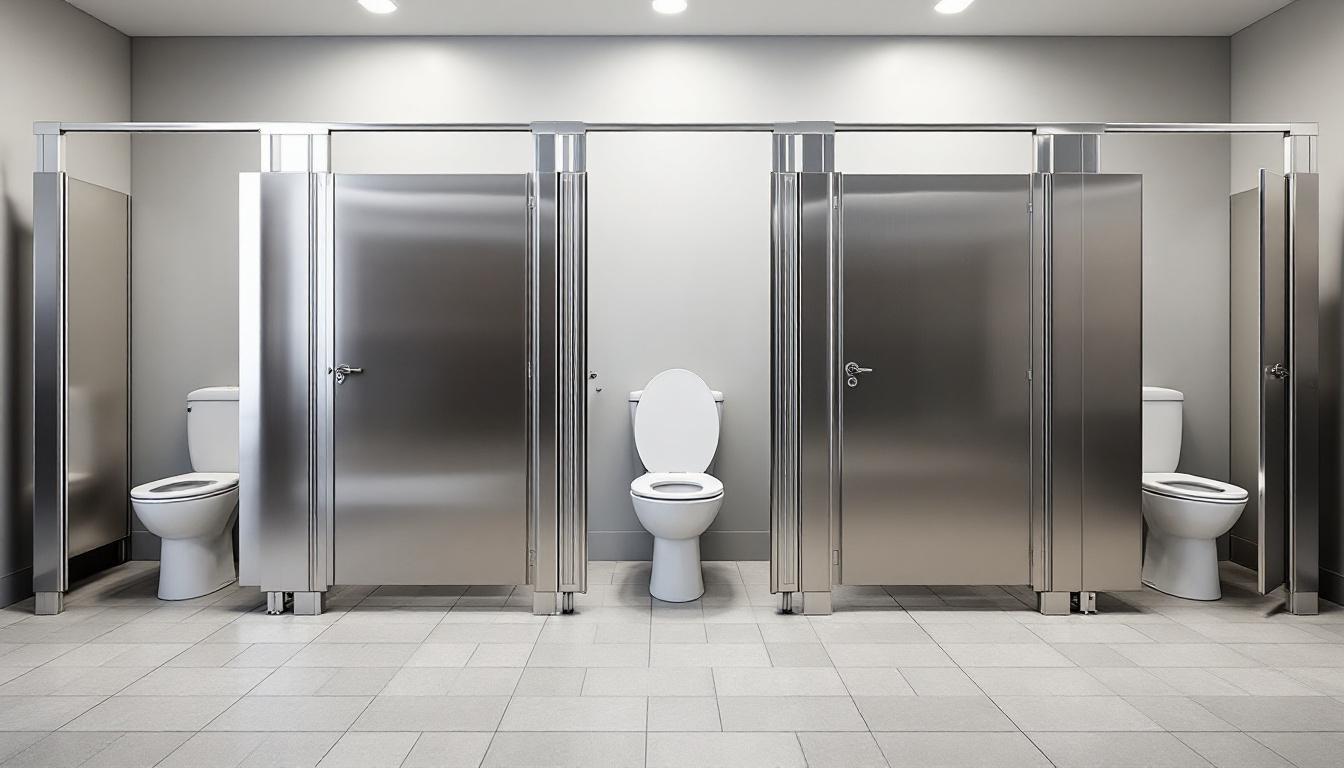
Installing a toilet partition headrail correctly sets the foundation for your entire partition system. At Partition Stalls, we’ve seen countless installations go wrong because people skip the planning phase or use the wrong fasteners for their wall type.
This guide walks you through everything you need-from the tools to use, to the exact steps for securing your headrail, to the mistakes that will cost you time and money.
What Tools and Hardware Do You Actually Need
Start with the Right Measurement Tools
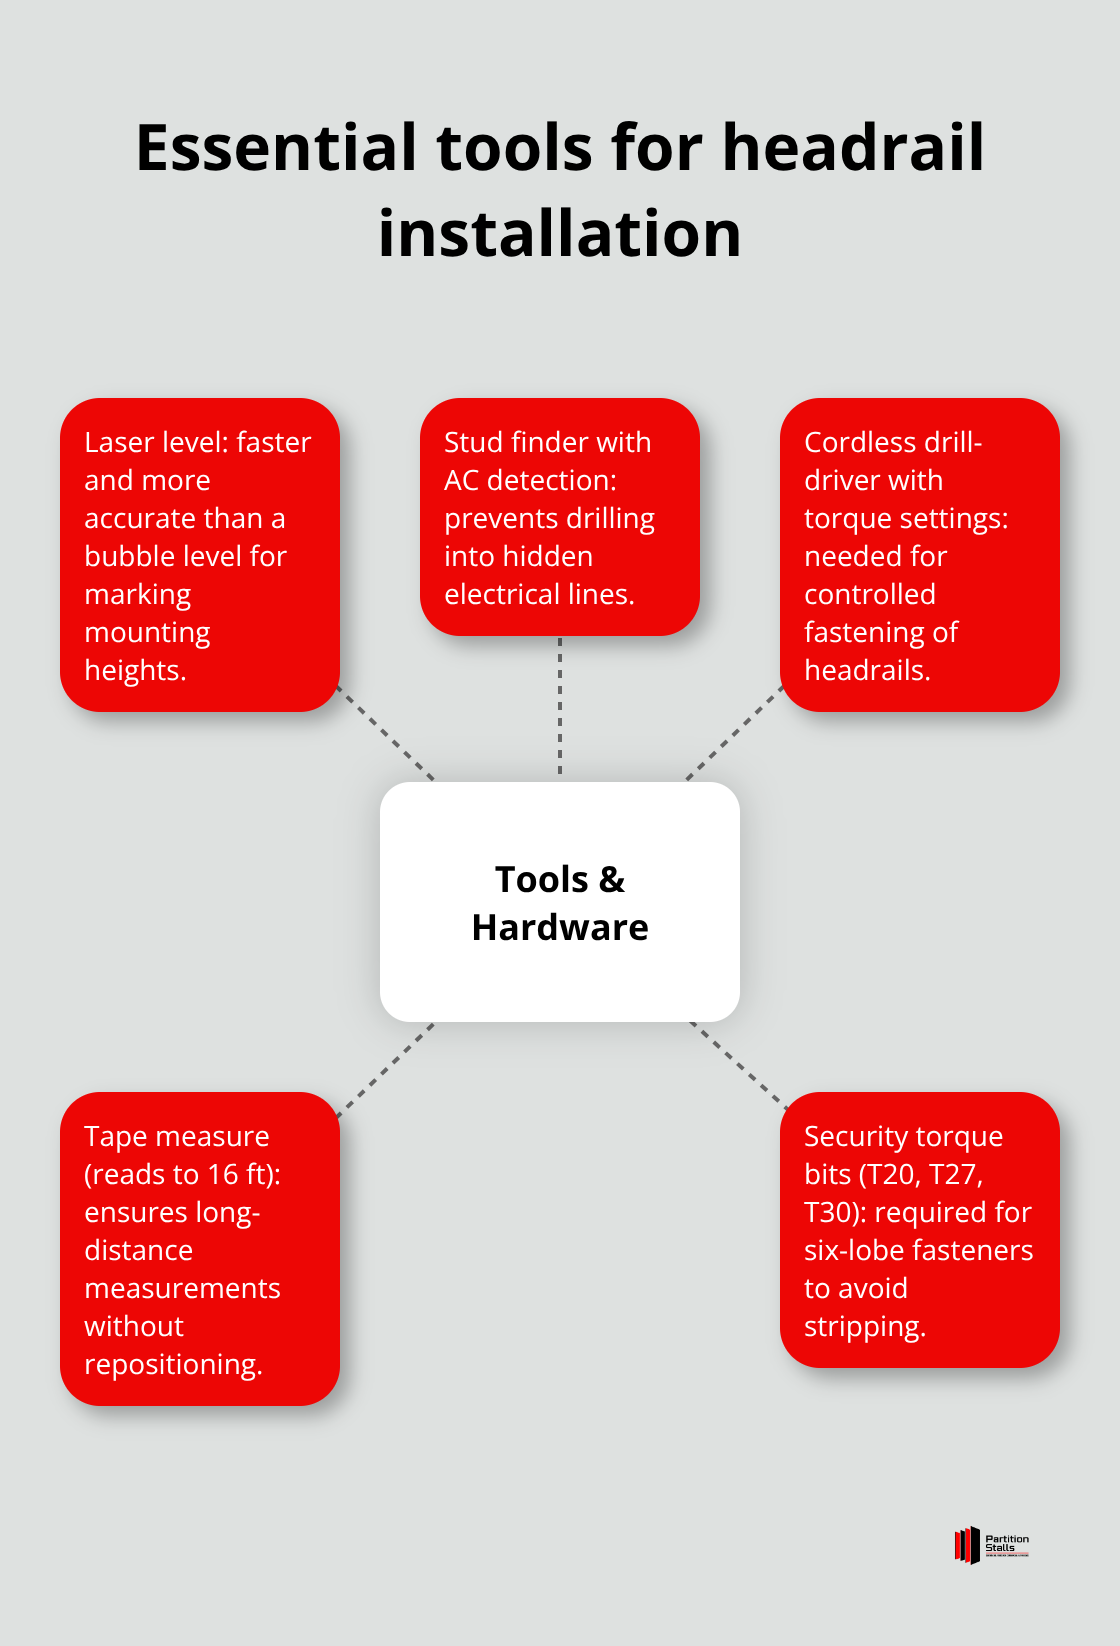
Before you touch a drill or measure your wall, gather the right equipment. A laser level outperforms a bubble level-it works faster, delivers more accuracy, and eliminates human error when marking wall studs at standard mounting heights for headrail brackets. A stud finder with AC wire detection prevents you from drilling into hidden electrical lines, which costs time and creates safety hazards. You’ll also need a cordless drill-driver with torque settings and a tape measure that reads to at least 16 feet.
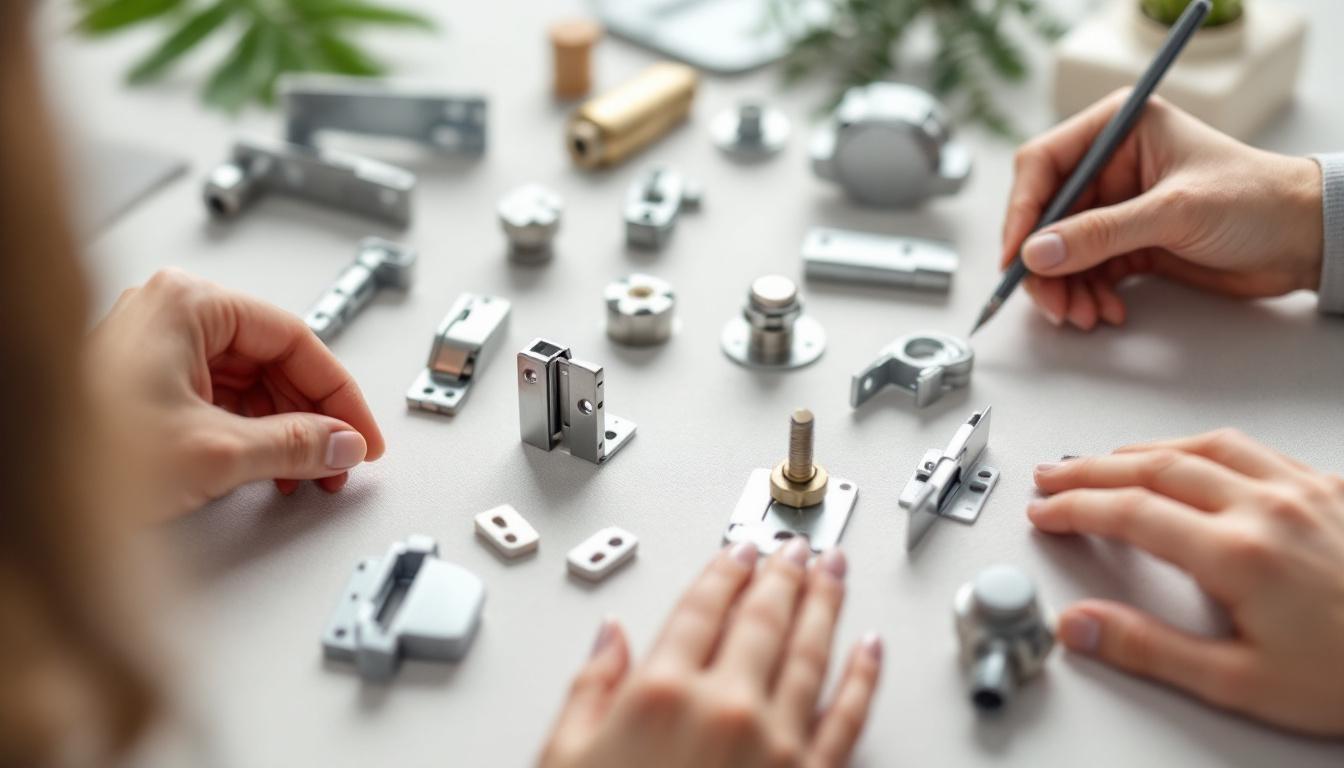
Use the Correct Fasteners and Bits
Security torque bits-specifically T20, T27, and T30 heads-are non-negotiable if your headrail uses six-lobe torque head fasteners; standard Phillips or flat-head drivers simply won’t work and you risk stripping screws. A socket set for 10-24 thread fasteners handles the common hardware used in headrail systems. Most installers overlook this detail and waste hours trying to remove stuck fasteners.
Match Hardware to Your Wall Type
The hardware itself varies by wall type. For drywall installations, you’ll need plastic plug anchors to distribute load and prevent pull-out when mounting headrail brackets. For concrete or masonry walls, substitute concrete anchors rated for the load your headrail will bear. Always use the fasteners provided in your headrail kit rather than substituting hardware from another supplier-mismatched screws or anchors create loose panels and compromise safety.
Prioritize Safety and Assistance
Wear safety glasses when drilling overhead and a dust mask when working with drywall or concrete. Have a capable helper on site; headrails are heavy and awkward to position alone, especially when you’re also holding a drill and checking level simultaneously. Never work alone on a ladder or elevated surface near the headrail mounting area. With your tools and hardware ready, the next step involves precise wall preparation and bracket placement.
Getting Your Wall Ready and Positioning Brackets Correctly
Identify Wall Studs and Mark Mounting Heights
Measurement accuracy determines whether your headrail sits level and whether your partition doors swing without binding. Use your stud finder to locate all wall studs along your installation path, then mark them lightly with pencil at the appropriate mounting heights above the floor-these are the standard centerlines where headrail bracket mounting holes go. Your laser level draws a horizontal line connecting these marks; this line keeps your brackets perfectly level even if your floor slopes. A sloped floor is common in older buildings and commercial restrooms, so don’t assume your floor is flat.
Measure Depth and Check for Wall Irregularities
Measure the distance from your wall to the outer edge of the pilasters where the headrail will rest; this measurement prevents the headrail from sitting too far forward or back. Use your straight edge to document any wall irregularities-if you find gaps larger than 1/8 inch between the wall and your straight edge, you’ll need shims when mounting brackets. Mark pilot hole locations using the bracket itself as a template; place the bracket against the wall and mark through the pre-drilled holes. Drill pilot holes for drywall anchors first; if you’re mounting into studs directly, size pilot holes for your 10-24 thread fasteners.
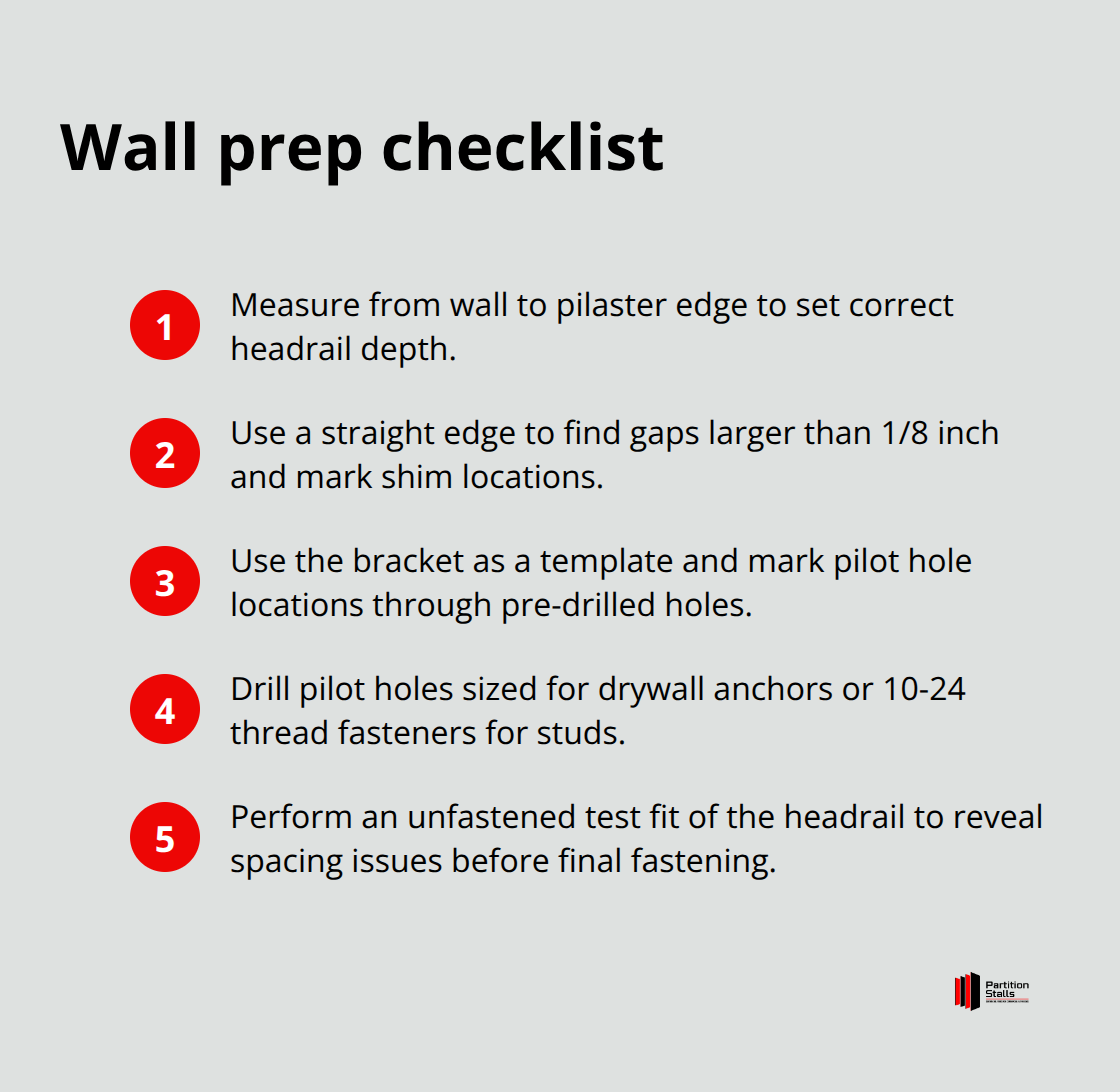
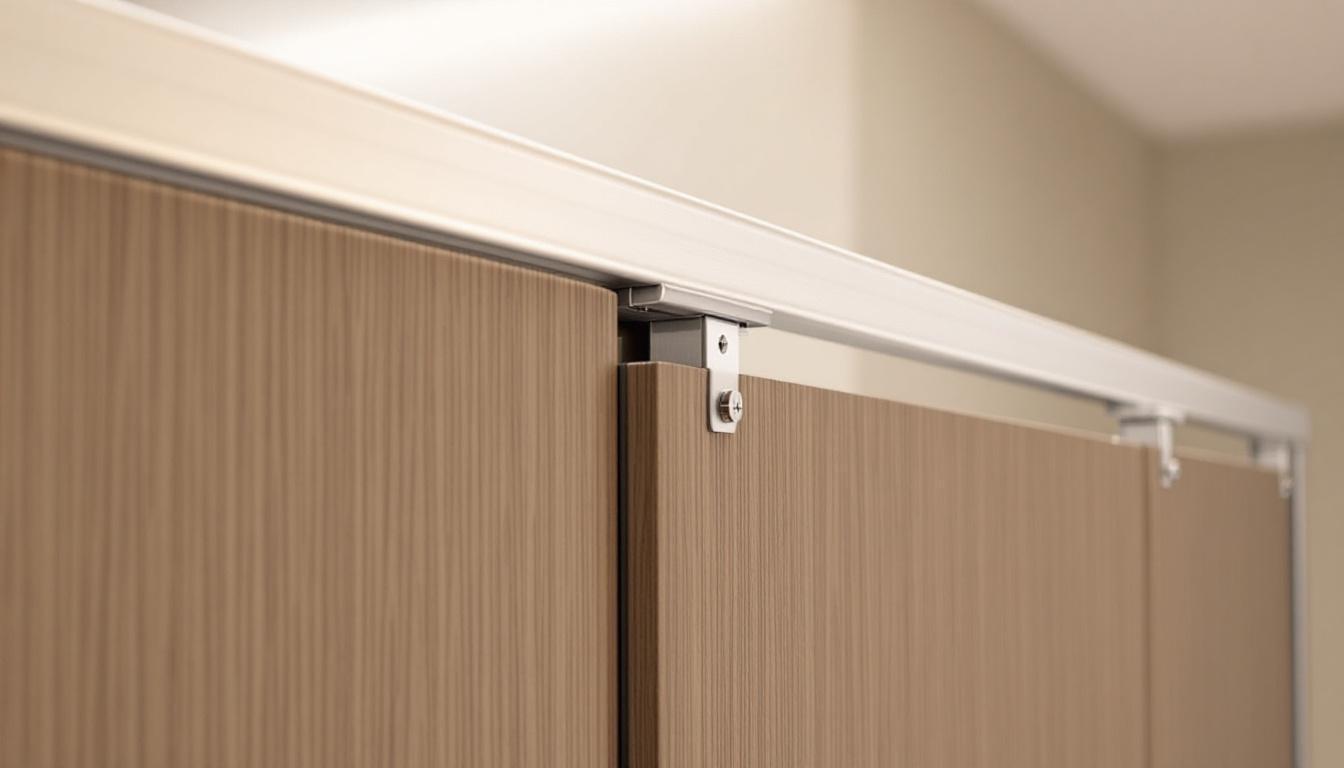
Install Anchors and Position Brackets
Install plastic plug anchors into drywall before fastening brackets to prevent bracket pull-out under door swing loads. Position your first bracket at the appropriate height and drive your torque head fastener firmly but stop before over-tightening-stripped threads force bracket replacement. Install your second bracket using the same technique, then slide the headrail into the bracket slots without fastening it yet. This unfastened test fit reveals spacing issues before you’re committed; if the headrail doesn’t sit flush or the brackets feel loose, stop and adjust bracket positioning rather than forcing fasteners.
Test Fit, Secure, and Verify Level
Once the headrail aligns with your pilaster tops and sits level across its entire length, secure it to wall brackets using your T27 torque bits for the six-lobe fasteners. Tighten fasteners in alternating fashion-top left, bottom right, top right, bottom left-to distribute load evenly and prevent bracket twist. Check your level one final time after all fasteners are tight; if the headrail shifted during tightening, loosen and re-position rather than accepting misalignment that will cause door binding later. With your headrail secured and level, you’re ready to install the doors and complete the final hardware connections that tie your entire partition system together.
What Mistakes Kill Headrail Installations
Measurement Errors Compound Across Your Entire Headrail
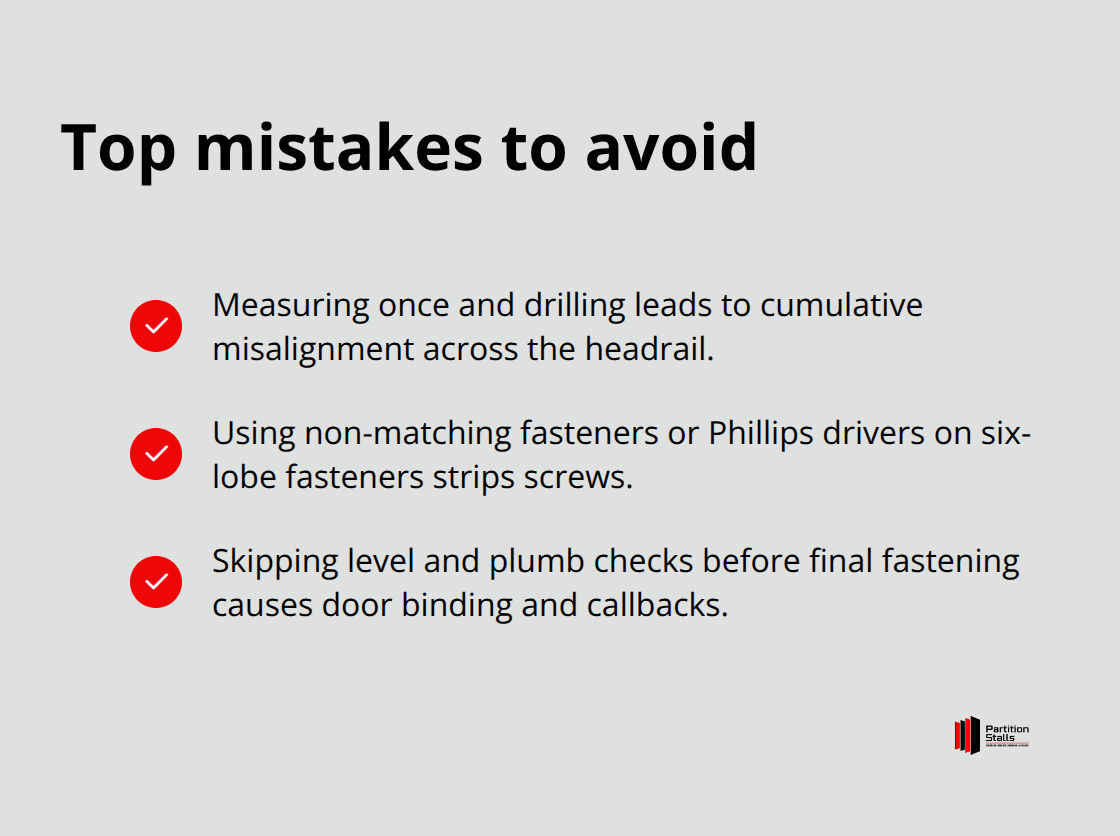
Measurement errors are the single biggest reason headrail installations fail. Most installers measure once, mark their bracket locations, and drill-then discover their marks are off by a quarter inch or more. A quarter inch error across a 6-foot headrail compounds into misalignment that forces doors to bind or gaps that look unprofessional. Measure twice from two different reference points to catch this problem early. Measure from the left wall to your first bracket location, then measure from the right wall backward to the same bracket. If these numbers don’t match, your reference line is crooked and your floor is likely uneven.
A laser level eliminates guesswork by drawing a perfectly horizontal line across your entire wall regardless of floor slope. Mark your bracket centerlines at 457 mm (18 inches) and 1626 mm (64 inches) from the floor, but verify these heights using your laser level rather than trusting a tape measure alone.
This dual-verification approach catches errors before you drill pilot holes.
Wall Irregularities Hide Measurement Mistakes Until Fastening Begins
Wall irregularities hide measurement mistakes until you fasten brackets. A straight edge held against your wall reveals gaps that shims must fill before bracket installation. Skip this step and your headrail twists as fasteners tighten, pulling the partition system out of square and causing door swing problems that cost money to fix later. The straight edge takes five minutes to use and prevents hours of rework.
Wrong Fasteners Strip Immediately and Cannot Be Removed
Standard Phillips head screws do not work with six-lobe torque head fasteners-forcing a Phillips driver into a torque head fastener strips the fastener immediately, leaving you with a screw you cannot remove without drilling it out. This happens on job sites constantly. The fasteners provided in your headrail kit are specific to your bracket type and wall material. Drywall requires plastic plug anchors rated for your load; concrete requires concrete anchors with proper load ratings; direct stud mounting uses different fastener sizes than drywall anchors. Substituting fasteners from another supplier creates loose panels under door swing loads and voids your warranty.
Level and Plumb Checks Must Happen Before Final Fastening
Failing to check level and plumb during installation guarantees callback work. After securing your brackets but before fastening the headrail, place the headrail into the bracket slots and check level across its entire length. If the headrail tilts, stop and adjust bracket positioning-do not force fasteners and accept misalignment. Tighten fasteners in alternating pattern: top left, bottom right, top right, bottom left. This distributes load evenly and prevents the bracket from twisting as fasteners tighten. Check level one final time after all fasteners are tight; if the headrail shifted, loosen and reposition rather than accepting a crooked installation that causes door binding and frame damage over time.
Final Thoughts
Successful toilet partition headrail installation requires precise measurement with a laser level, fasteners matched to your wall type, and level verification before final tightening. Skip any of these practices and you’ll face callbacks, door binding, and wasted labor costs that exceed the time you saved by cutting corners. Measurement errors that seem minor during installation compound into misalignment that becomes obvious once doors swing, and wall irregularities force the headrail to twist as fasteners tighten, pulling your entire partition system out of square.
Call a professional installer if your site has significant floor slope, uneven walls, or structural concerns that affect bracket mounting. Professional installers handle complex layouts, material-specific hardware requirements, and site conditions that demand experience-they also verify that your headrail installation complies with ADA requirements for door clearance, grab bar mounting, and turning radius. After your headrail sits level and secure, hang the doors and install the final hardware connections that complete your partition system, then test door swing to confirm smooth operation without binding.
Contact Partition Stalls for a free consultation if you’re uncertain about any installation step or need guidance on material selection and headrail specifications. Our team helps you avoid costly mistakes and ensures your restroom meets both functional and aesthetic standards.