Installing toilet partition brackets correctly makes the difference between a stable, long-lasting restroom setup and one that fails prematurely. We at Partition Stalls know that most facility managers and contractors underestimate how critical proper bracket installation is to the entire system’s performance.
The wrong fasteners, poor spacing, or inadequate wall anchors can compromise your entire partition structure. This guide walks you through the exact steps to get it right the first time.
What Brackets Do You Actually Need
Two Main Bracket Categories
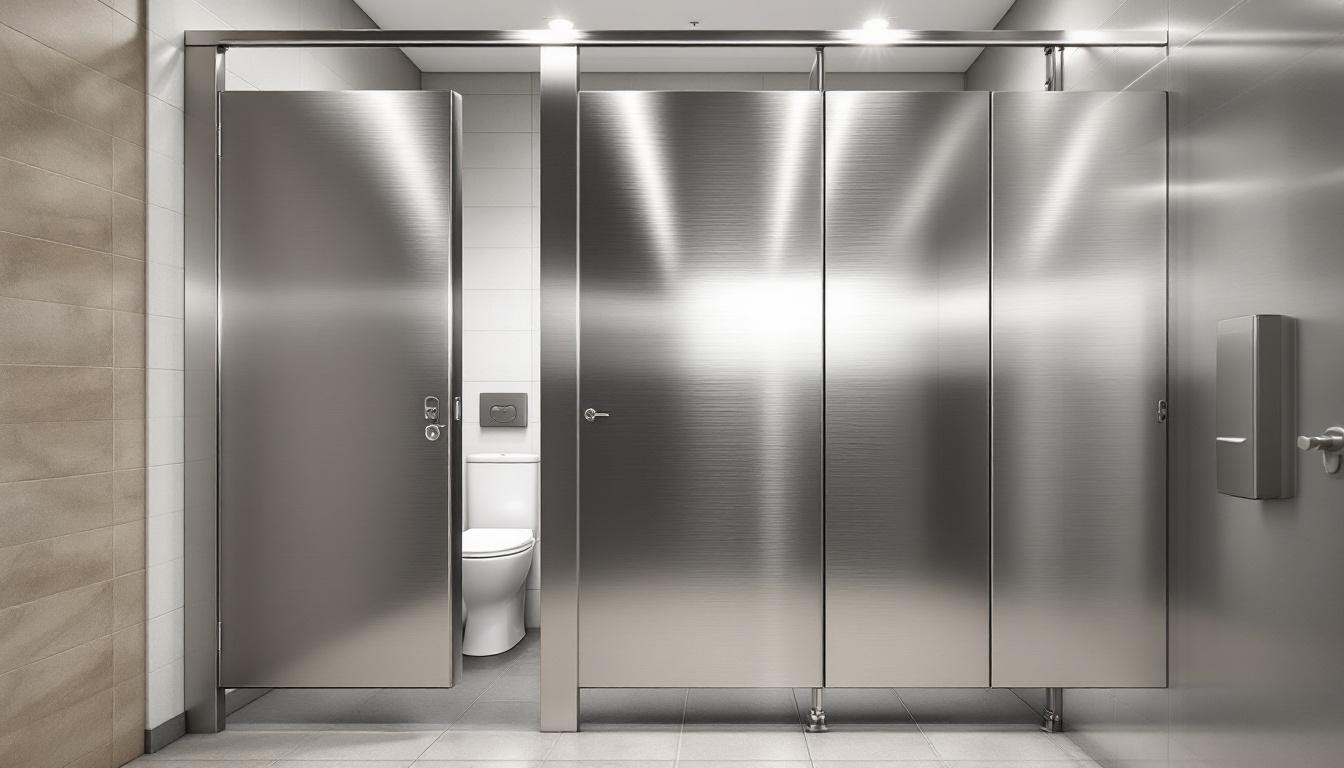
Toilet partition brackets fall into two main categories: wall-mounted and floor-mounted systems, and your choice depends entirely on your restroom’s construction and the partition material you select. Wall brackets handle the vertical load of panels and doors, typically rated between 200 to 400 pounds per bracket depending on the material, while floor brackets provide the foundational stability that prevents rocking and shifting.
Material Selection and Environmental Factors
Stainless steel brackets in high-moisture environments like pools or coastal facilities resist corrosion that degrades painted finishes. Phenolic and solid plastic partitions require different bracket spacing than laminate systems because they distribute weight differently, so mixing bracket types from different manufacturers almost always causes alignment problems that become obvious only after installation begins. The standard bracket spacing we recommend is 457 mm (18 inches) and 1626 mm (64 inches) from the floor, which works across most commercial restroom layouts and reduces the likelihood of custom drilling on-site.

Wall Type and Fastener Requirements
Your wall type determines which fasteners work and which ones fail. Drywall over studs accepts toggle bolts or heavy-duty anchors rated for at least 100 pounds per anchor, but concrete or tile requires masonry anchors that expand into the material itself. Plaster walls, common in older buildings, need special consideration because they crumble easily-drilling slowly and using lead anchors prevents the wall from deteriorating around the bracket.
Load Capacity and Floor Conditions
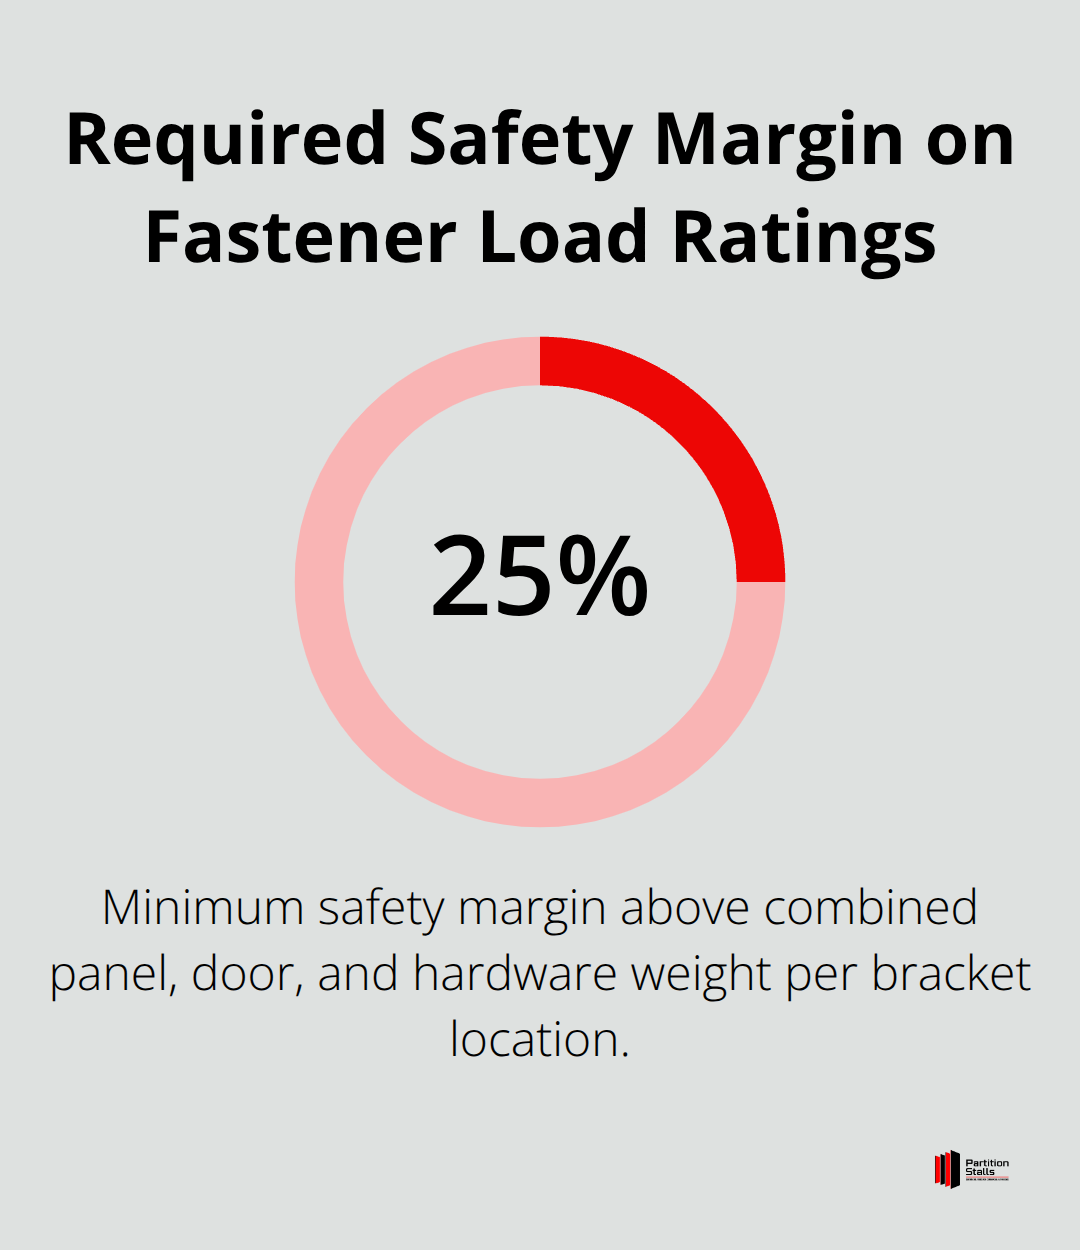
The load-bearing capacity of your chosen bracket must exceed the combined weight of the partition panel, door, and hardware by at least 25 percent to account for impact loads and movement over time. Hadrian Commercial Toilet Partitions publishes detailed specifications for each bracket type, showing exactly which walls and fasteners work for different scenarios, which saves you from guessing during installation. If your restroom has uneven flooring, leveling devices built into modern bracket systems compensate for floor variations up to 12 mm, preventing doors from binding or gaps from appearing between panels. These adjustable systems transform a potentially problematic installation into one that performs reliably for years.
Getting Brackets in the Right Place
Establish Precise Measurement Points
Precision during measurement and marking determines whether your brackets sit perfectly plumb or create alignment headaches that multiply across multiple compartments. Start by establishing your centerline on the wall with a chalk line, then measure from your floor reference point upward to mark the two standard bracket heights: 457 mm (18 inches) and 1626 mm (64 inches) from the finished floor. These heights work because they align with the pilaster design used in modern partition systems, and deviating from them forces you to drill custom holes that weaken the wall and compromise the bracket’s load-bearing capacity. Use a level to verify your horizontal marks are truly level before drilling anything, because even a 3-degree error compounds across a multi-stall installation.
Calculate Floor Bracket Positions Correctly
For floor brackets, the front centerline calculation requires taking your overall compartment width and subtracting 16 mm, then drilling holes 22 mm (7/8 inch) inward from the pilaster edge as indicated on your layout drawing. This specific spacing prevents the pilaster shoe from interfering with panel installation and allows the leveling device to operate without obstruction. Mark these locations with a pencil, then use a center punch to create a small indentation that prevents your drill bit from wandering when you apply pressure.
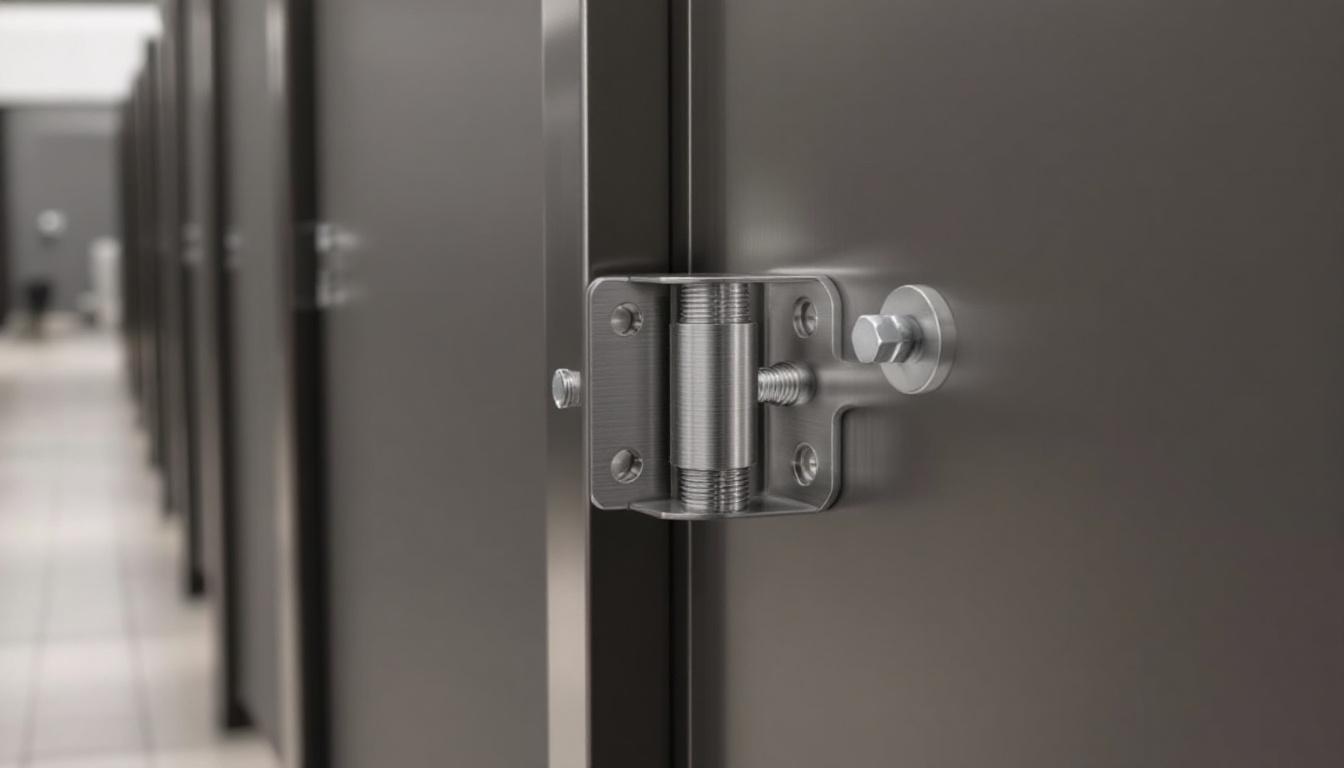
Select Fasteners That Match Your Wall Type
Fastener selection determines whether your brackets hold for ten years or fail within two. Toggle bolts work for drywall and must be rated for at least 100 pounds per anchor minimum, but masonry anchors are mandatory for concrete or tile walls because they expand into the material and distribute the load across a wider area than simple bolts ever could. If you encounter plaster walls in older buildings, use lead anchors and drill slowly to prevent the plaster from crumbling around the hole, which destroys the anchor’s holding power. The load from a single partition panel plus door typically ranges between 150 and 250 pounds depending on material, so each bracket location needs fasteners rated for at least 200 pounds to maintain that 25 percent safety margin.
Position Panels and Verify Alignment
Once all wall brackets are secured and floor anchors are installed, position your panels on 318 mm (12.5-inch) tall support blocks with a 13 mm (half-inch) clearance between the wall and panel before final fastening. This clearance accommodates natural movement and allows the door to swing without binding. Use a level on both the vertical and horizontal planes to confirm each panel sits square, then slide the pilaster shoe onto the floor bracket and insert the leveling device (which compensates for uneven flooring up to 12 mm). This adjustment prevents doors from binding or gaps from appearing between panels over time, setting the foundation for the door installation that comes next.
Common Installation Mistakes to Avoid
Spacing Errors That Compound Across Multiple Compartments
Spacing errors happen most often when installers measure from the wrong reference points or misread the layout drawing entirely. Brackets positioned at 19 inches instead of 18 inches from the floor, or floor anchors drilled 30 mm inward rather than 22 mm, create cascading problems once doors are hung. The pilaster shoe becomes misaligned, doors bind against frames, and gaps appear between panels that compromise privacy and look unprofessional. Toilet partition panels typically come in 64″ tall and 72″ tall configurations with pilasters at approximately 83″, so deviating from these standard heights forces custom adjustments on-site that weaken load-bearing capacity. A laser level maintains consistency across longer distances and eliminates the human error that comes from repositioning a bubble level repeatedly across multiple compartments.
Fastener Failures From Wrong Anchor Selection
Fastener failures account for the second major category of installation disasters, and they occur because installers either guess at wall composition or choose anchors based on price rather than load capacity. Toggle bolts fail under a partition system that exerts significant load, especially in high-traffic restrooms where door slamming and user movement create impact forces that exceed static weight calculations. Masonry anchors for concrete walls must be the expansion type rated for at least 100 pounds minimum, and they must be installed to the full depth specified by the manufacturer or they slip under load.
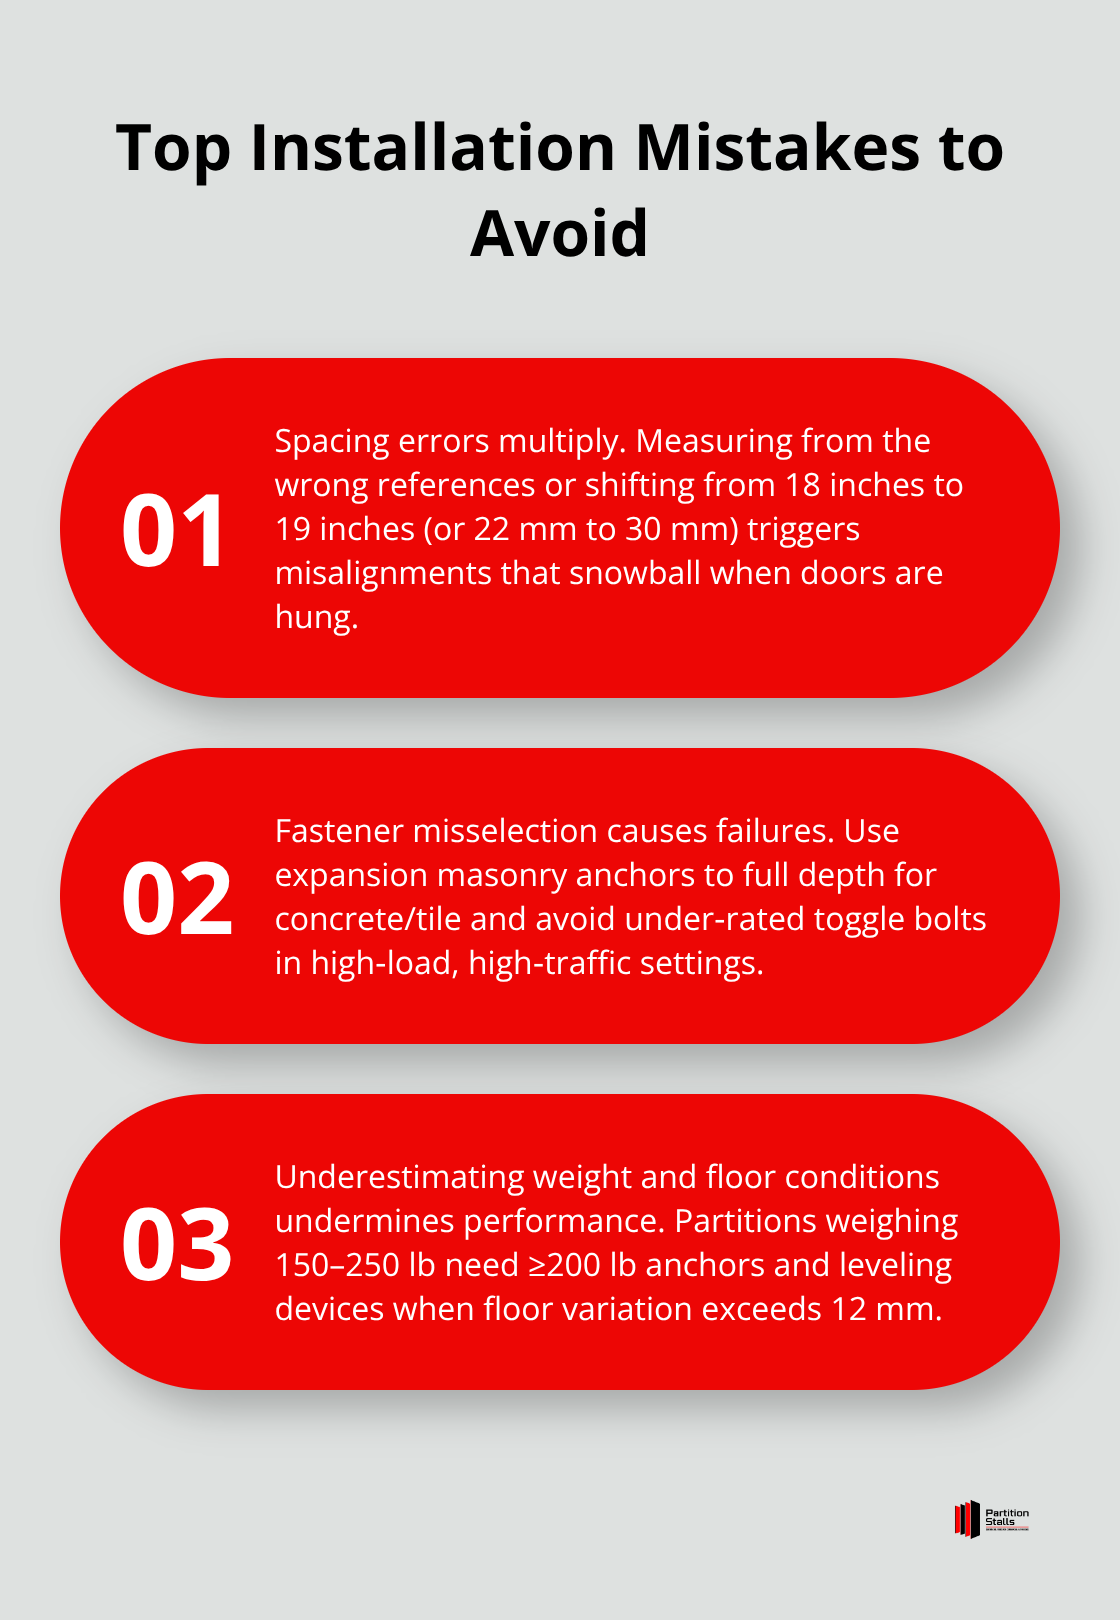
Plaster walls demand lead anchors installed slowly with a cordless drill at low speed, because high-speed drilling generates heat that crumbles the plaster around the hole and destroys the anchor’s grip.
Underestimating Weight and Floor Conditions
The third error involves underestimating partition weight relative to floor and wall conditions, particularly in older buildings where uneven floors or deteriorated walls cannot support standard bracket loads without additional reinforcement. Partition systems that weigh 150 to 250 pounds (depending on material) require fasteners rated for at least 200 pounds per anchor to maintain a 25 percent safety margin. Uneven flooring that exceeds 12 mm variation demands leveling devices built into modern bracket systems, or the installation fails to perform reliably. Deteriorated walls in older facilities need professional assessment before installation proceeds, because custom mounting solutions may be the only way to achieve a stable, long-lasting result.
Final Thoughts
Professional installation protects your investment and keeps your restroom performing reliably for years. We at Partition Stalls have watched facilities waste thousands of dollars on repairs because installers rushed through measurement, selected the wrong fasteners, or ignored floor conditions during setup. The techniques in this guide-positioning toilet partition brackets at 457 mm and 1626 mm from the floor, matching fasteners to your wall type, and compensating for uneven flooring-eliminate the guesswork that causes premature failures.
A contractor experienced with partition systems assesses wall composition, identifies deteriorated plaster or concrete that needs reinforcement, and adjusts for floor variations that exceed standard leveling device capacity. They understand that a 25 percent safety margin on fastener load ratings prevents doors from binding and panels from shifting under daily impact forces. They verify alignment across multiple compartments using laser levels rather than bubble levels, catching spacing errors before they compound into alignment problems.
Simple installations in newer buildings with standard drywall and level floors proceed smoothly with careful attention to the measurement and fastening steps outlined here. Older facilities with plaster walls, uneven floors, or concrete construction benefit from professional assessment before installation begins. Contact Partition Stalls for expert guidance and customization options to match your specific restroom needs, whether you outfit an office, gym, restaurant, or public facility.