Designing handicap bathroom stalls that meet accessibility standards is a critical aspect of inclusive architecture. At Partition Stalls, we understand the importance of creating spaces that accommodate all users, regardless of their physical abilities.
This guide will walk you through the essential elements of accessible stall design, from ADA requirements to additional features that enhance usability. By implementing these principles, you’ll create bathroom facilities that are not only compliant but also truly user-friendly for everyone.
ADA Requirements for Handicap Bathroom Stalls
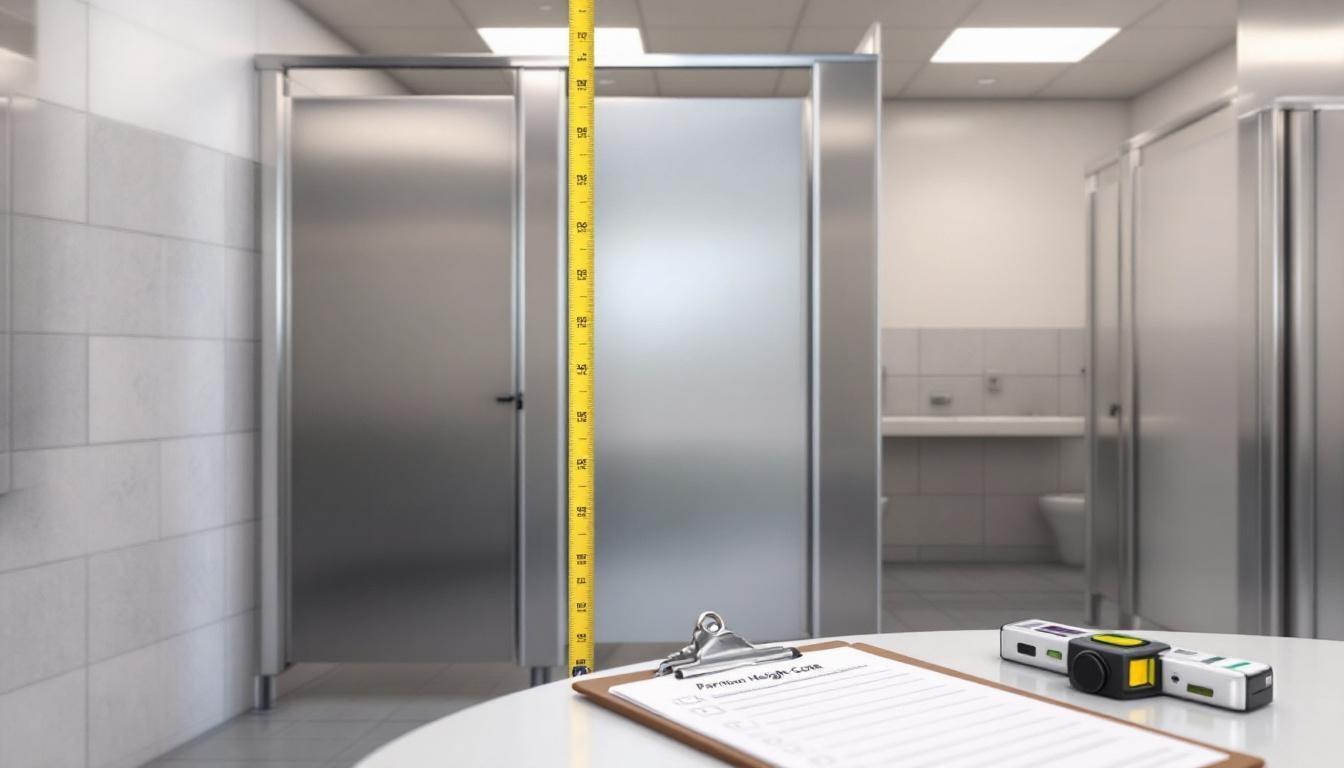
Size and Dimensions: The Foundation of Accessibility
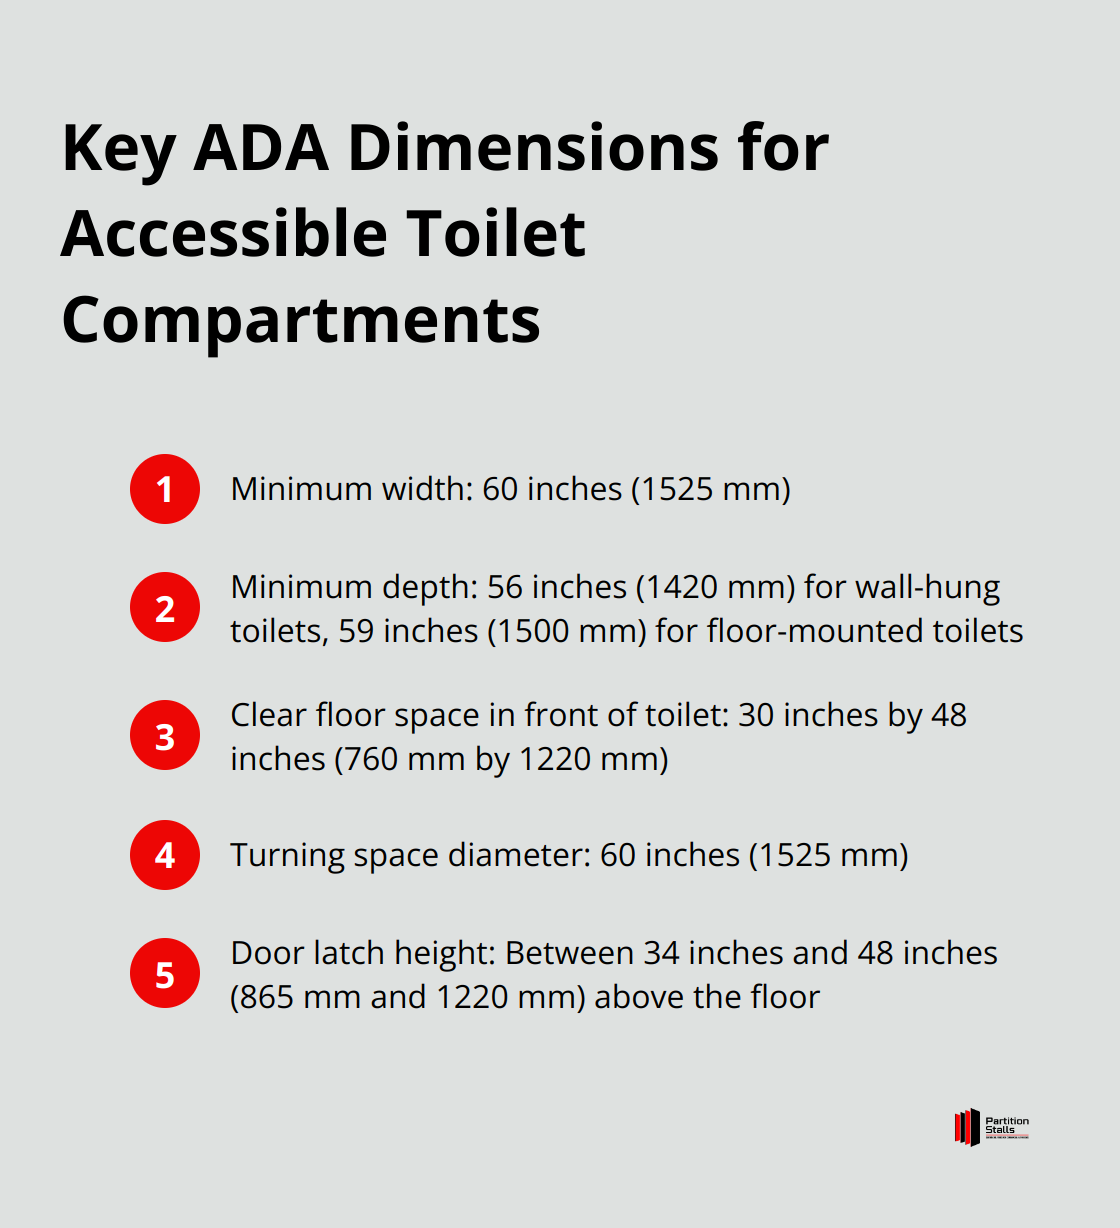
The ADA sets specific standards for accessible toilet compartments. These stalls must have a minimum width of 60 inches (1525 mm). This width allows wheelchair users to move comfortably within the stall. The depth should measure at least 56 inches (1420 mm) for wall-hung toilets or 59 inches (1500 mm) for floor-mounted toilets. These dimensions ensure sufficient space for users to transfer from a wheelchair to the toilet and back.
At Partition Stalls, we often suggest exceeding these minimum requirements when possible. Extra space can greatly improve usability and comfort for all users, not just those with disabilities.
Clear Floor Space: A Necessity for Maneuverability
Clear floor space forms a fundamental aspect of accessible design. The ADA mandates a clear floor space of at least 30 inches by 48 inches (760 mm by 1220 mm) in front of the toilet. This area allows wheelchair users to approach the toilet from the side and perform a transfer.
Additionally, the stall must include a 60-inch (1525 mm) diameter turning space. This turning area can overlap with the clear floor space and other fixtures, but it remains essential for wheelchair users to turn around comfortably within the stall.
Door Swing and Latch Placement: Maximizing Usable Space
The door of an accessible stall must not swing into the minimum required area of the stall. Ideally, the door should swing outward to maximize the usable space within the stall. If space constraints necessitate an inward-swinging door, it should not encroach on the clear floor space required for the toilet or the turning space.
The latch should be operable with one hand and not require tight grasping, pinching, or twisting of the wrist. Place the latch between 34 inches and 48 inches (865 mm and 1220 mm) above the floor. This placement ensures that most users, including those in wheelchairs, can reach the latch easily.
Additional Considerations for Enhanced Accessibility
While meeting ADA requirements forms the baseline for accessible stall design, consider incorporating additional features to further improve usability. These may include:
- Non-slip flooring to reduce the risk of falls
- Contrasting color schemes to aid visibility for users with visual impairments
- Easy-to-use door handles and locks that require minimal dexterity
These elements can significantly enhance the overall accessibility and safety of handicap bathroom stalls.
Now that we’ve covered the essential ADA requirements for accessible stalls, let’s explore the key design elements that can further improve the functionality and comfort of these spaces.
Essential Design Elements for Accessible Stalls
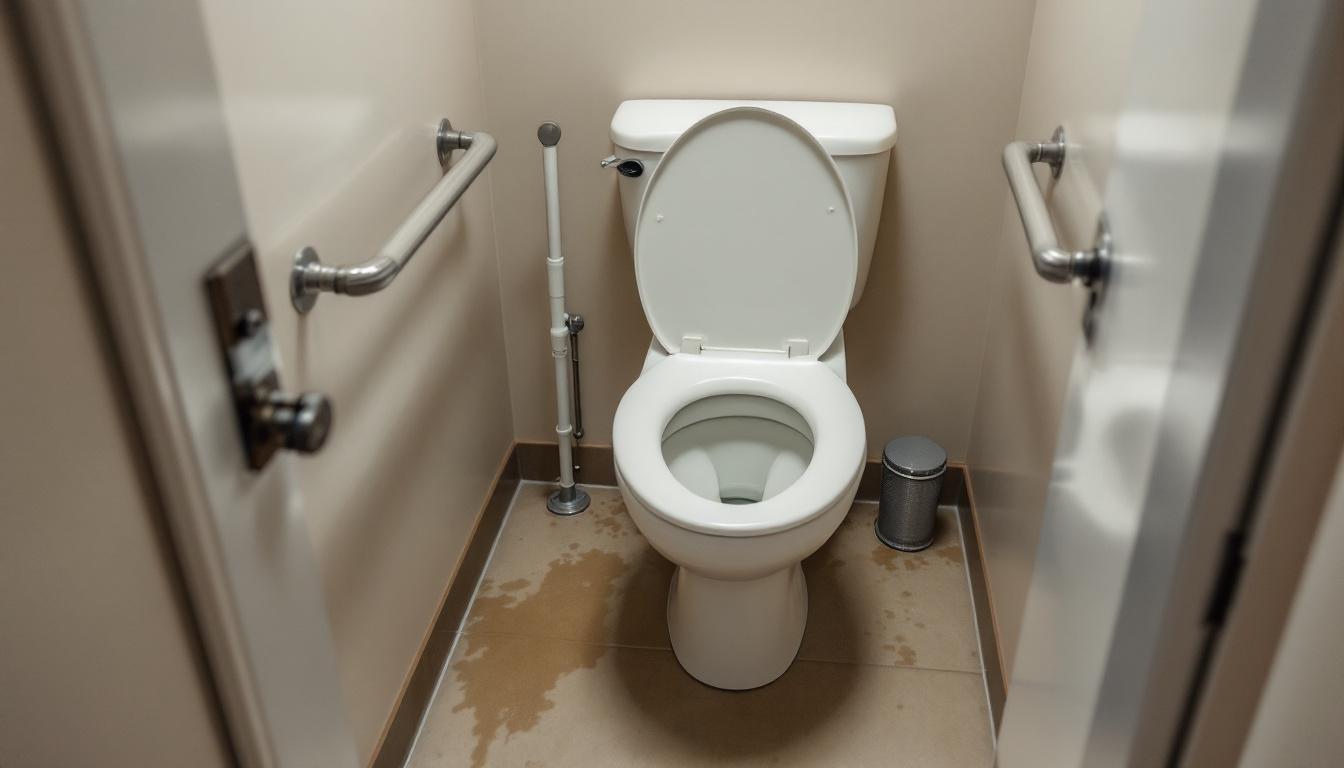
Strategic Grab Bar Placement
Grab bars play a vital role in the safety and mobility of accessible stalls. The ADA specifies precise placements:
- Behind the toilet: Install a 36-inch (915 mm) bar
- Side wall: Place a 42-inch (1065 mm) bar, but a 48-inch grab bar is recommended
- Height: Mount bars between 33 to 36 inches (840 to 915 mm) from the floor
We suggest using grab bars with a diameter between 1.25 to 1.5 inches (32 to 38 mm) for optimal gripping. Select bars that support at least 250 pounds of force.

To enhance safety, add a vertical grab bar on the side wall. This addition helps users transition from a wheelchair to the toilet.
Optimal Toilet Height and Location
The toilet’s height and position significantly impact accessibility. ADA guidelines specify:
- Toilet height: 17 to 19 inches (430 to 485 mm) from floor to seat top
- Centerline: 16 to 18 inches (405 to 455 mm) from the side wall
We recommend opting for the higher end of this range, as it facilitates easier transfers for many users. Position the toilet to allow ample space for side transfers from a wheelchair.
Thoughtful Accessory Placement
Proper placement of accessories ensures they remain within reach for all users:
- Toilet paper dispenser: Install 7 to 9 inches (180 to 230 mm) in front of the toilet, no higher than 48 inches (1220 mm) from the floor
- Coat hooks: Mount at least one hook at 40 to 48 inches maximum height
- Shelves: If provided, place them no higher than 40 to 48 inches above the floor
Accessories like coat hooks and shelves should have a 30″ x 48″ clearing in front of them. For soap dispensers and hand dryers in the main restroom area, keep them within a 48-inch (1220 mm) reach range.
Non-Slip Flooring Options
The choice of flooring material impacts both safety and accessibility. Select non-slip surfaces to reduce the risk of falls, especially when the floor becomes wet. Options include:
- Textured ceramic tiles
- Rubber flooring
- Slip-resistant vinyl
These materials provide traction while remaining easy to clean and maintain.
Lighting Considerations
Proper lighting enhances visibility and safety for all users. Install bright, even lighting throughout the stall to eliminate shadows and dark spots. Consider:
- LED fixtures for energy efficiency and longevity
- Motion-activated lights for convenience
- Task lighting near mirrors and sinks
The next chapter will explore additional features that can further improve the accessibility and usability of handicap bathroom stalls.
How to Enhance Accessibility Beyond ADA Standards
At Partition Stalls, we believe in exceeding basic ADA requirements to create truly inclusive bathroom spaces. While meeting minimum standards is important, additional features can significantly improve the user experience for people with disabilities. This chapter explores key enhancements that can make a real difference in accessible stall design.
Advanced Flooring Solutions for Improved Safety
The right flooring prevents slips and falls. Safety minimums for dynamic coefficient of friction depend on the test method used, and there is no single universally accepted standard. Porcelain tiles with a textured finish or rubber flooring offer both slip resistance and durability.
When installing flooring, pay attention to transitions between different surfaces. Ensure that any changes in level do not exceed 1/4 inch high (or 1/2 inch if beveled). This small detail can prevent tripping hazards for wheelchair users and individuals with mobility impairments.
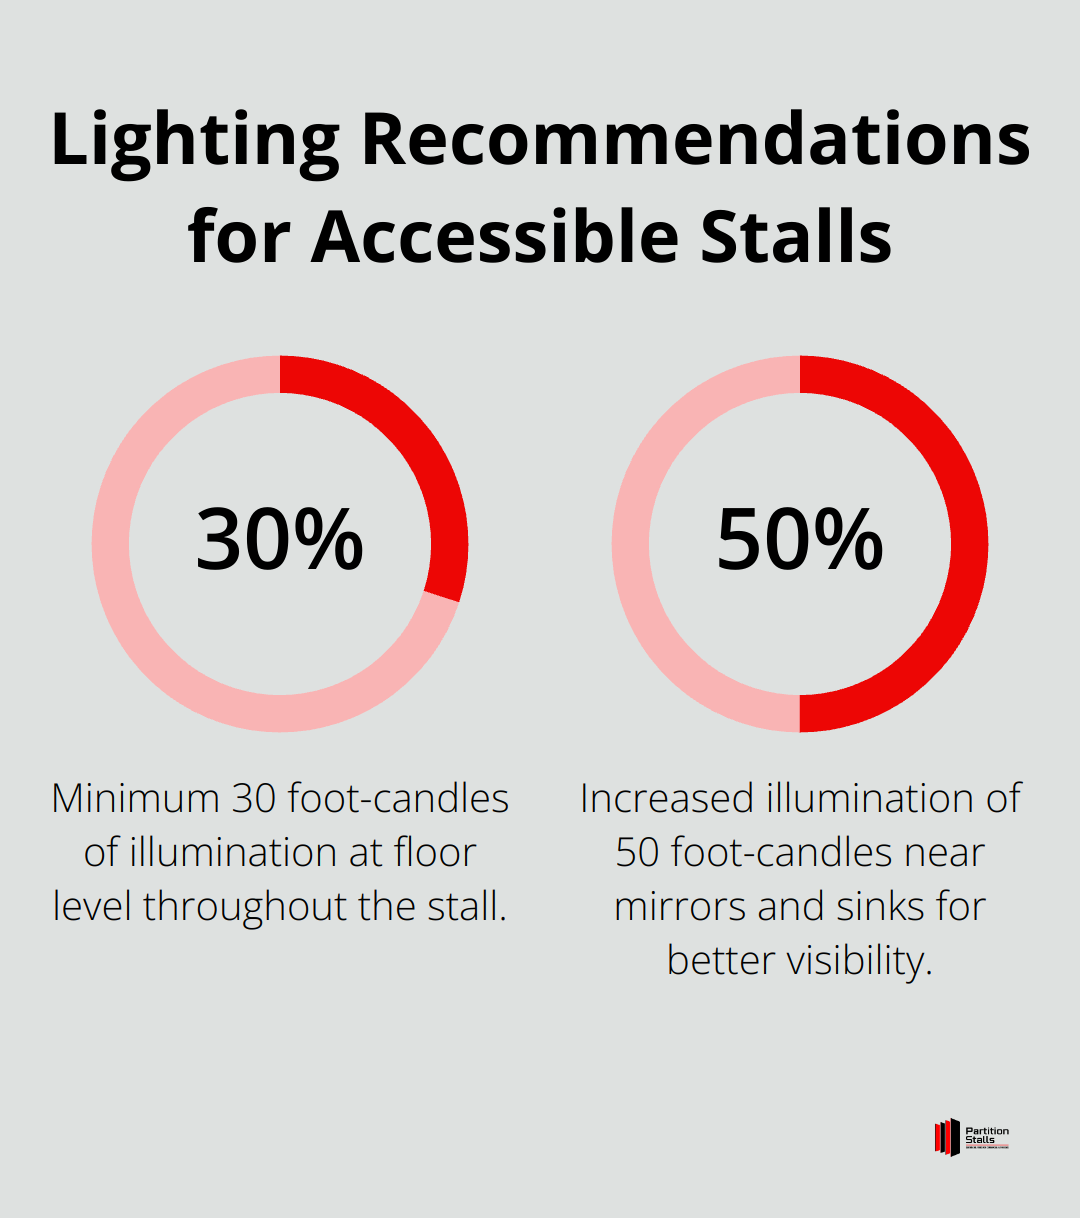
Smart Lighting Design for Better Visibility
Proper lighting creates a safe and comfortable environment. We suggest a combination of ambient and task lighting to achieve optimal visibility. Try to provide a minimum of 30 foot-candles at the floor level throughout the stall, with increased illumination of 50 foot-candles near mirrors and sinks.
Energy-efficient LED fixtures reduce utility costs and offer versatility in setting the desired mood and functionality for various spaces.
Additionally, using color temperature between 3000K and 4000K provides a warm, natural light that enhances visibility without causing glare or eye strain.
User-Friendly Hardware for Simplified Access
The ease of entering and exiting an accessible stall impacts its usability. We recommend lever-style door handles instead of traditional knobs, as they require less grip strength and are easier to operate. Position these handles between 34 and 48 inches above the floor for optimal reach.
For door locks, consider large, easy-to-manipulate sliding bolts or flip-over latches. These designs are more intuitive and require less dexterity than smaller, twist-style locks. Some innovative products offer both visual and tactile indicators of the locked/unlocked status, enhancing usability for individuals with visual impairments.
Customizable Features for Diverse Needs
Every user has unique requirements. We suggest incorporating adjustable features where possible. Height-adjustable sinks, for example, accommodate users of different heights and those in wheelchairs. Tilt mirrors allow both standing and seated users to see themselves comfortably.
Consider installing a fold-down changing table for adults. This feature supports individuals who require assistance with personal care tasks, making the stall more versatile and inclusive.
Final Thoughts
Handicap bathroom stalls require more than basic compliance to meet diverse user needs. Regular maintenance and inspections ensure the continued functionality and safety of accessible features. Proactive checks of grab bars, door mechanisms, and flooring conditions prevent potential hazards and maintain the integrity of these essential spaces.
Exceeding minimum requirements transforms the user experience in accessible stalls. The incorporation of adjustable fixtures, smart lighting, and user-friendly hardware accommodates a wide range of needs. These enhancements improve accessibility and contribute to a more dignified experience for all users (including those with disabilities).
We at Partition Stalls offer expert guidance and customizable options for accessible restroom solutions. Our team helps create restroom spaces that welcome all users. Thoughtful, accessible design reflects a commitment to inclusivity and enhances user satisfaction for everyone who uses the facility.