Toilet partition pilaster shoes form the foundation of any stable restroom partition system. These small but vital components anchor your pilasters securely to the floor.
We at Partition Stalls see many installation mistakes that lead to wobbly partitions and costly repairs. Proper installation takes the right tools, techniques, and attention to detail.
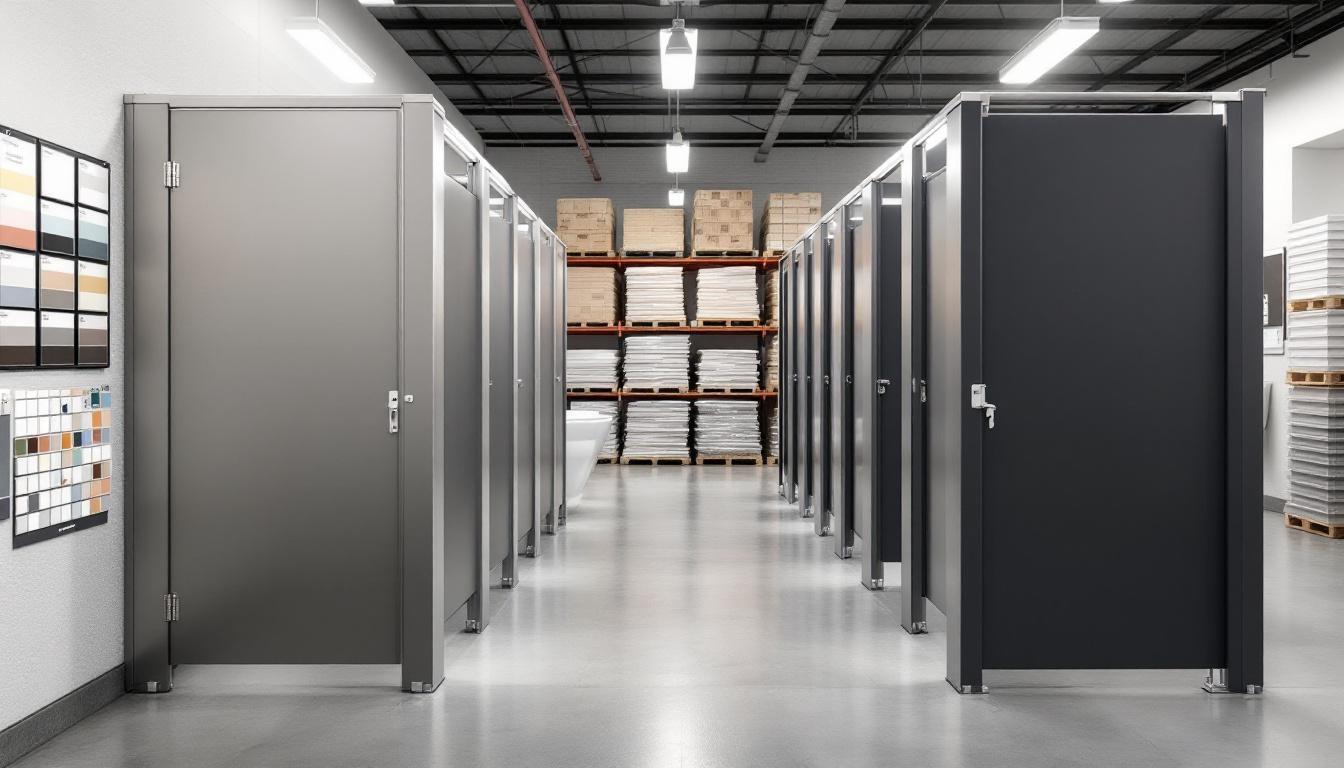
Which Pilaster Shoe Type Fits Your Project
Standard Adjustable Height Models
Adjustable height pilaster shoes solve the most common installation headache: uneven floors. These shoes feature threaded adjustment mechanisms that compensate for floor variations. Most commercial installations benefit from this flexibility since concrete floors rarely achieve perfect level across large restroom spaces.
The adjustment range typically spans from 2.75 inches to 3.75 inches in total height. This allows installers to level partitions without floor modifications or additional materials. Stainless steel construction resists corrosion better than painted alternatives, especially in high-moisture environments.
Adjustable models work best for any installation where floor conditions remain unknown or clearly show irregularities. The threaded mechanism provides precise control over final height adjustments.
Fixed Height Commercial Solutions
Fixed height pilaster shoes work best in new construction where floors meet strict tolerances. These shoes cost approximately 20% less than adjustable versions and offer superior structural stability due to their solid construction.
Standard heights include 3 inches for most applications and 4 inches for installations that require additional clearance for maintenance equipment. The rigid design eliminates potential adjustment points that can loosen over time in high-traffic facilities.
Heavy-Duty Commercial Grade Options
Heavy-duty commercial grade options feature reinforced construction compared to standard materials. This thicker steel handles impact loads better in facilities like sports venues, schools, and transit stations where partitions face aggressive use.
Professional installers prefer heavy-duty shoes for installations that exceed 1,000 daily users. The reinforced construction prevents deformation under stress and extends service life significantly in demanding environments.

These robust models typically cost 30-40% more than standard options but provide long-term value through reduced maintenance and replacement needs. The investment pays off in facilities where partition failure creates operational disruptions.
Now that you understand the different pilaster shoe types available, you need the right tools and materials to complete your installation successfully.
Tools and Materials Needed for Installation
Professional pilaster shoe installation requires specific tools that most general contractors lack. A torque wrench rated for 25-50 foot-pounds prevents long-term loosening issues since proper fastener tension matters more than most installers realize. Standard socket sets fail to provide consistent torque values that commercial installations demand.
A quality hammer drill with masonry bits sized 3/8 inch and 1/2 inch handles concrete anchoring tasks effectively. Carbide-tipped bits last 300% longer than standard steel alternatives when you drill into concrete substrates.
Required Hardware and Fasteners
Stainless steel wedge anchors feature expansion clips, threaded stud bodies, nuts and washers for reliable fastening. Choose 3/8 inch diameter anchors for standard installations and 1/2 inch for heavy-duty applications.
Galvanized hardware corrodes within 18 months in high-moisture environments (making stainless steel the only viable long-term option). Each pilaster shoe requires four anchors minimum for proper load distribution. Purchase 20% extra anchors since concrete drilling often damages fasteners during installation.

Essential Safety Equipment
Safety glasses with side shields protect against concrete dust and metal fragments during drill operations. OSHA requires eye protection for all construction activities that involve power tools.
Knee pads rated for commercial use prevent joint damage during floor-level work sessions. Quality pads cost $40-60 but prevent workplace injuries that result in significant workers’ compensation claims. Work gloves with cut-resistant palms handle sharp metal edges safely while they maintain dexterity for precise adjustments.
Preparation Materials
Clean rags remove concrete dust from anchor holes before you insert fasteners. Compressed air clears debris more effectively than manual methods (especially in deep holes). A chalk line helps mark accurate pilaster positions across multiple stalls.
With your tools and materials ready, you can begin the precise measurement and marking process that determines installation success.
How Do You Install Pilaster Shoes Correctly
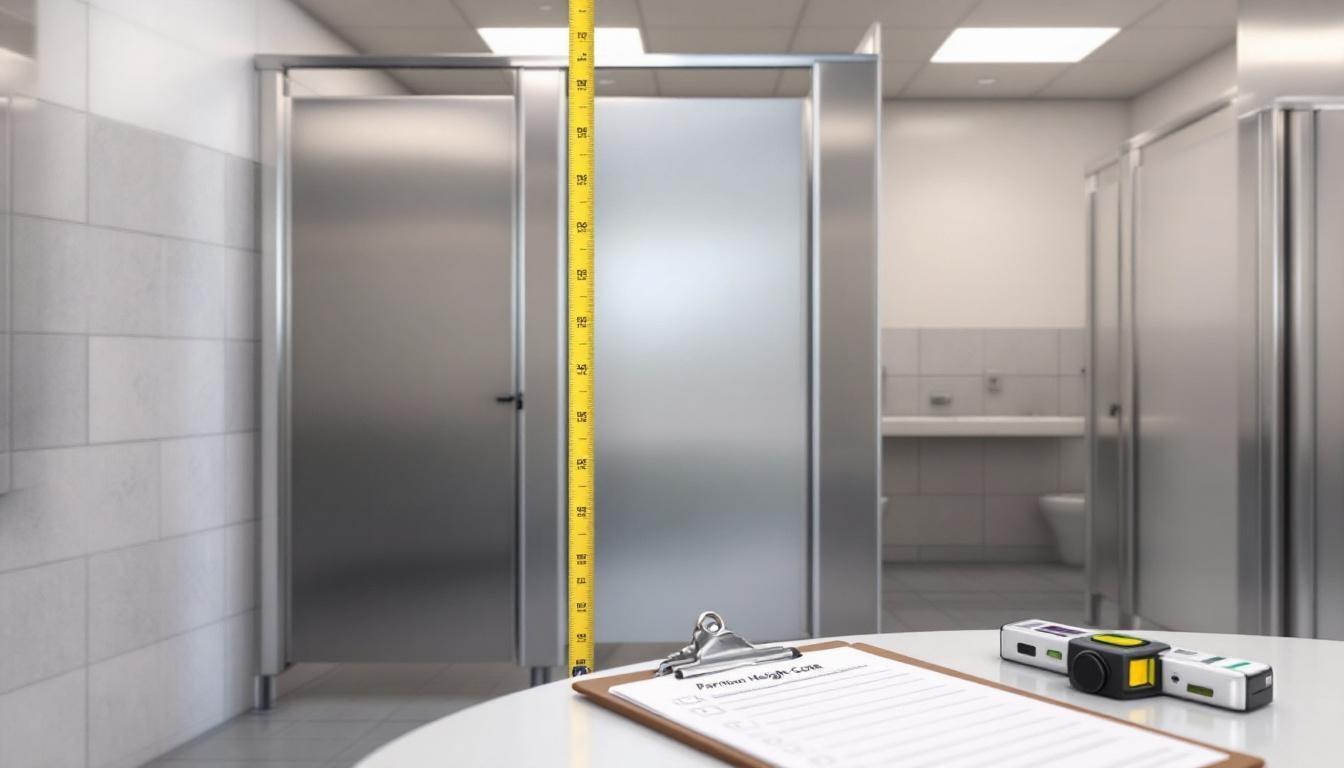
Precise Floor Measurement Prevents Future Problems
Accurate measurement determines the success of your entire partition system. Start by establishing the centerline of your first stall with a chalk line snapped parallel to the back wall. Measure 24 inches from the back wall for standard depth stalls (though some installations require 30-inch spacing for ADA compliance). Mark pilaster shoe locations at 60-inch intervals for standard stall widths.
Professional installers use steel measuring tapes rather than cloth versions since steel maintains accuracy over long distances and resists stretching that causes cumulative errors. Check floor level variations with a 4-foot level at each marked location. Floors that vary more than 1/4 inch across a stall width require adjustable pilaster shoes rather than fixed height models. Document these measurements since they determine your final shoe adjustment settings. Commercial floor installations commonly show level variations that can affect partition alignment and require careful measurement during installation.
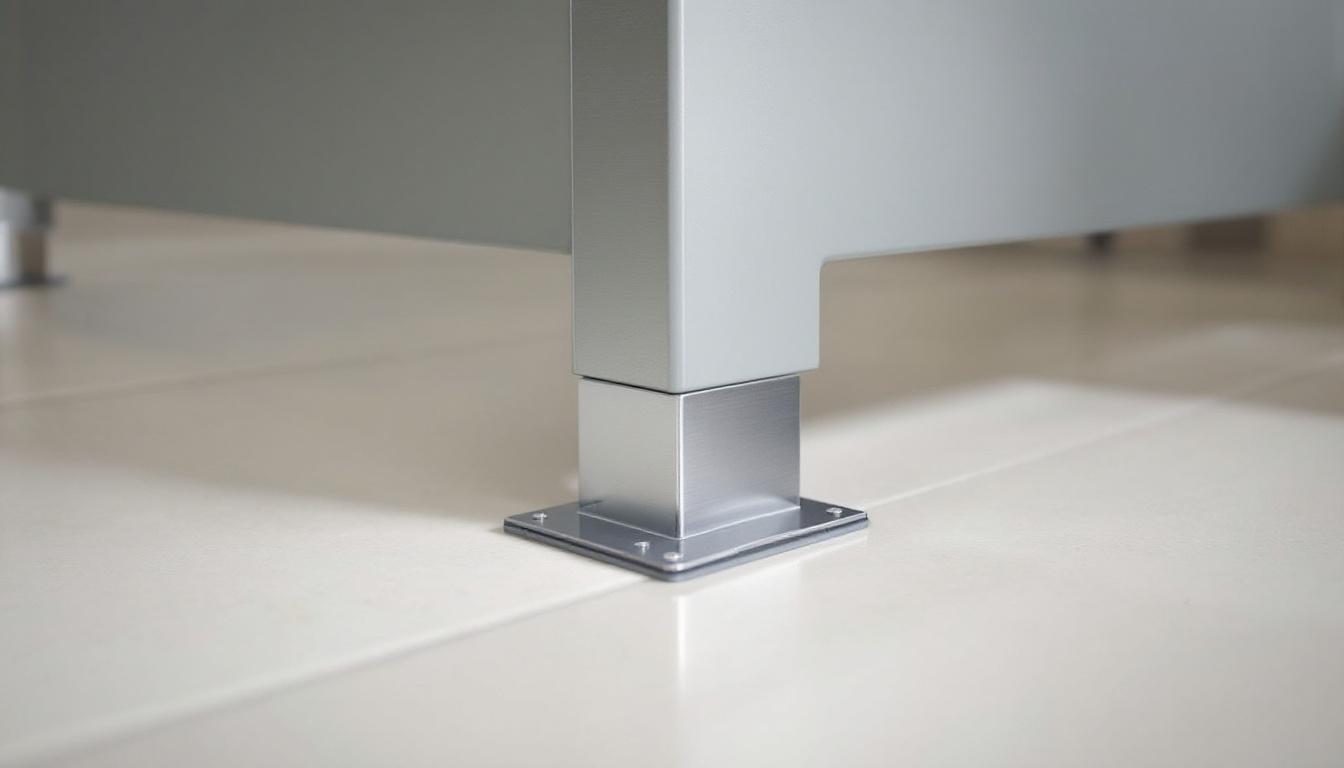
Anchor Installation Requires Proper Technique
Drill anchor holes to exact specifications with a hammer drill set to rotation-only mode. Standard 3/8-inch wedge anchors require 3/8-inch holes drilled 2.5 inches deep into concrete substrates. Blow out concrete dust with compressed air after each hole since debris prevents proper anchor expansion.
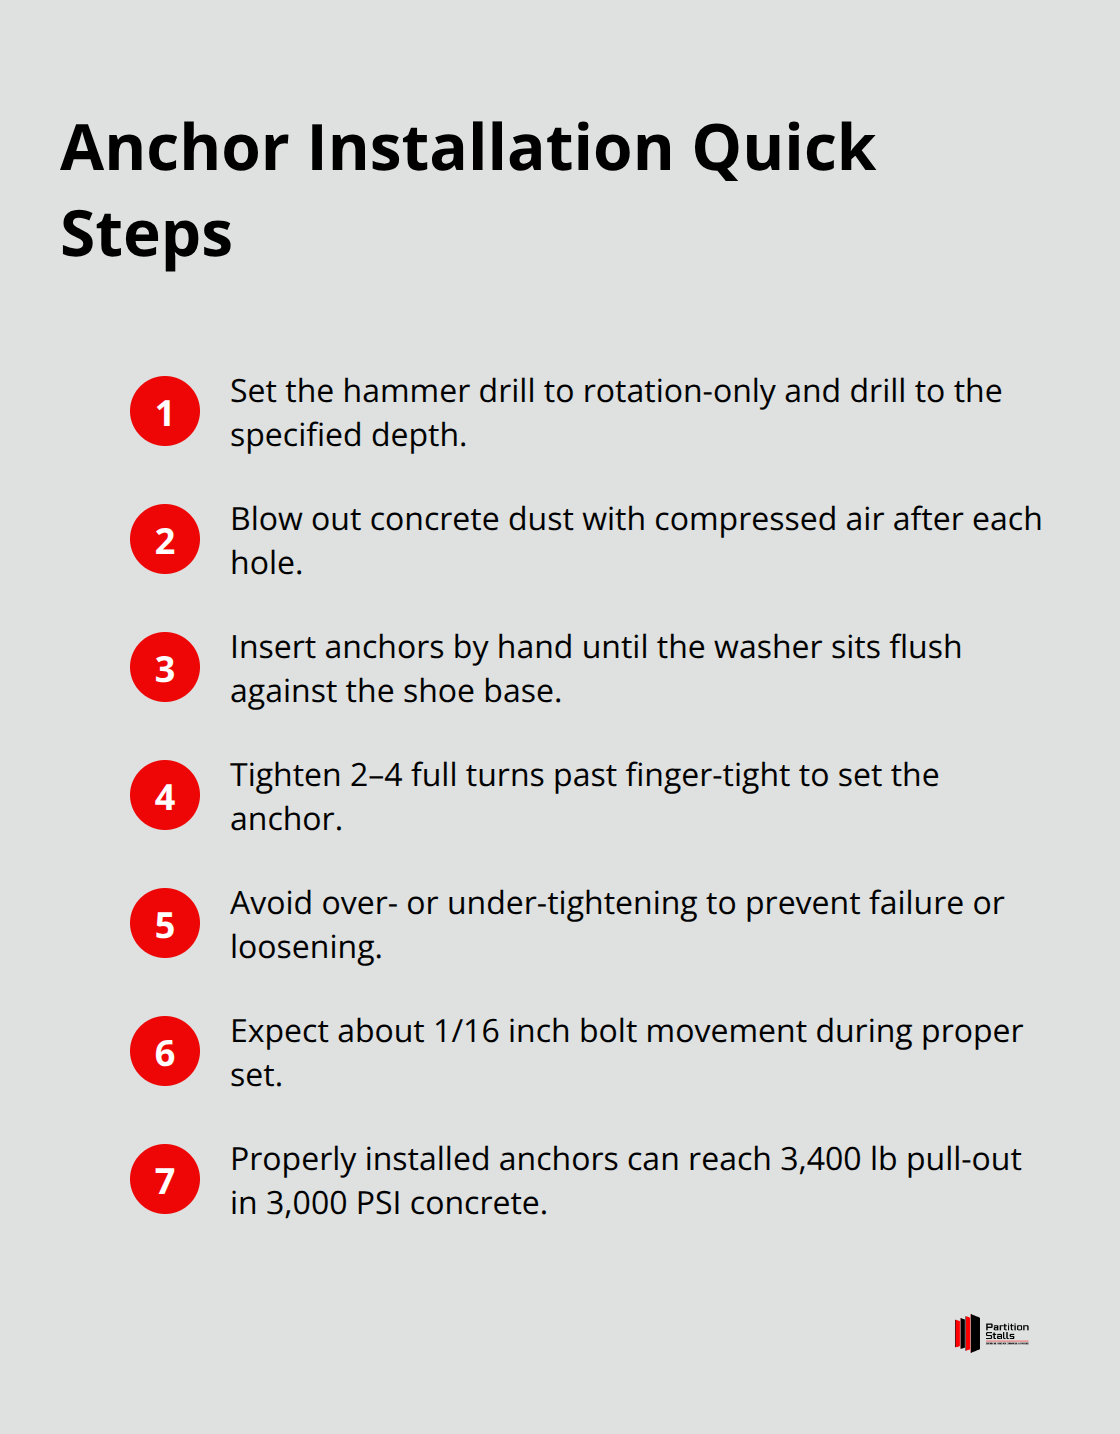
Insert anchors by hand until the washer sits flush against the pilaster shoe base. Tighten anchors until firmly set, typically requiring 2-4 full turns past the finger-tight position. The anchor bolt will move up approximately 1/16 inch during proper installation. Over-tightening causes anchor failure while under-tightening allows movement that loosens connections over time. The Portland Cement Association states that properly installed wedge anchors achieve 3,400 pounds of pull-out strength in 3,000 PSI concrete.
Final Pilaster Alignment Secures Long-Term Stability
Position pilasters into installed shoes and check vertical alignment with a 6-foot level against the front face. Adjust shoe height with the threaded mechanism until all pilasters align within 1/8 inch across the entire installation. Tighten pilaster attachment bolts to manufacturer specifications (typically 25 foot-pounds for standard commercial applications).
Verify that pilasters remain plumb after tightening since over-torquing can pull them out of alignment. Test each anchor by applying 50 pounds of lateral force before proceeding to pilaster attachment. Floor-mounted pilaster shoes provide maximum stability but complicate maintenance around partition bases. Complete installations require verification measurements at 24-hour intervals for the first three days as concrete anchors achieve full holding strength.
Final Thoughts
Successful toilet partition pilaster shoes installation depends on three key factors: precise measurements, proper anchor technique, and quality materials. We at Partition Stalls consistently see installations fail when contractors skip the measurement verification step or use inadequate fasteners. Steel measuring tapes and 4-foot levels prevent the alignment issues that plague rushed installations.
The most expensive mistake involves the wrong anchor hole locations. Contractors must patch and re-drill when they move pilaster shoes after concrete anchors set, which adds 2-3 hours per stall to project timelines. Always double-check measurements before you start the drill.
Professional installation becomes necessary when your project involves more than six stalls or requires ADA compliance verification (complex layouts with unusual dimensions often exceed DIY capabilities). Licensed contractors carry insurance that protects against installation errors that could cost thousands in repairs. Partition Stalls provides expert guidance for commercial restroom projects that require professional-grade solutions.