Installing toilet partitions correctly requires precise measurements and proper techniques. Many facilities managers struggle with alignment issues and code compliance during installation.
We at Partition Stalls have compiled comprehensive toilet partition installation instructions based on thousands of successful projects. This guide covers essential tools, step-by-step procedures, and common mistakes that can cost time and money.
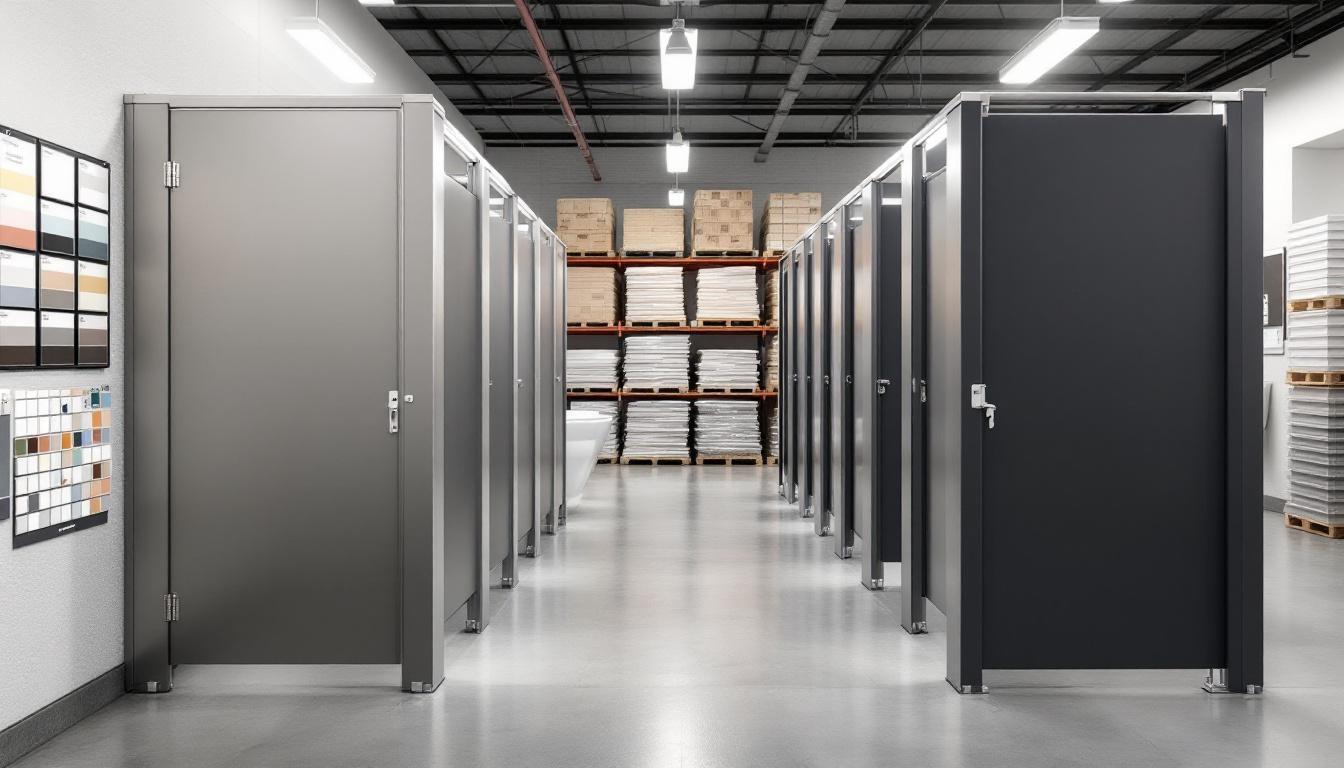
Tools and Materials Needed for Toilet Partition Installation
Professional toilet partition installation requires specific tools that many facility managers overlook. A digital level provides indispensable accuracy for proper alignment, while a hammer drill with masonry bits handles concrete floors effectively. The Bosch GSB18V-535C delivers consistent performance across different floor materials.
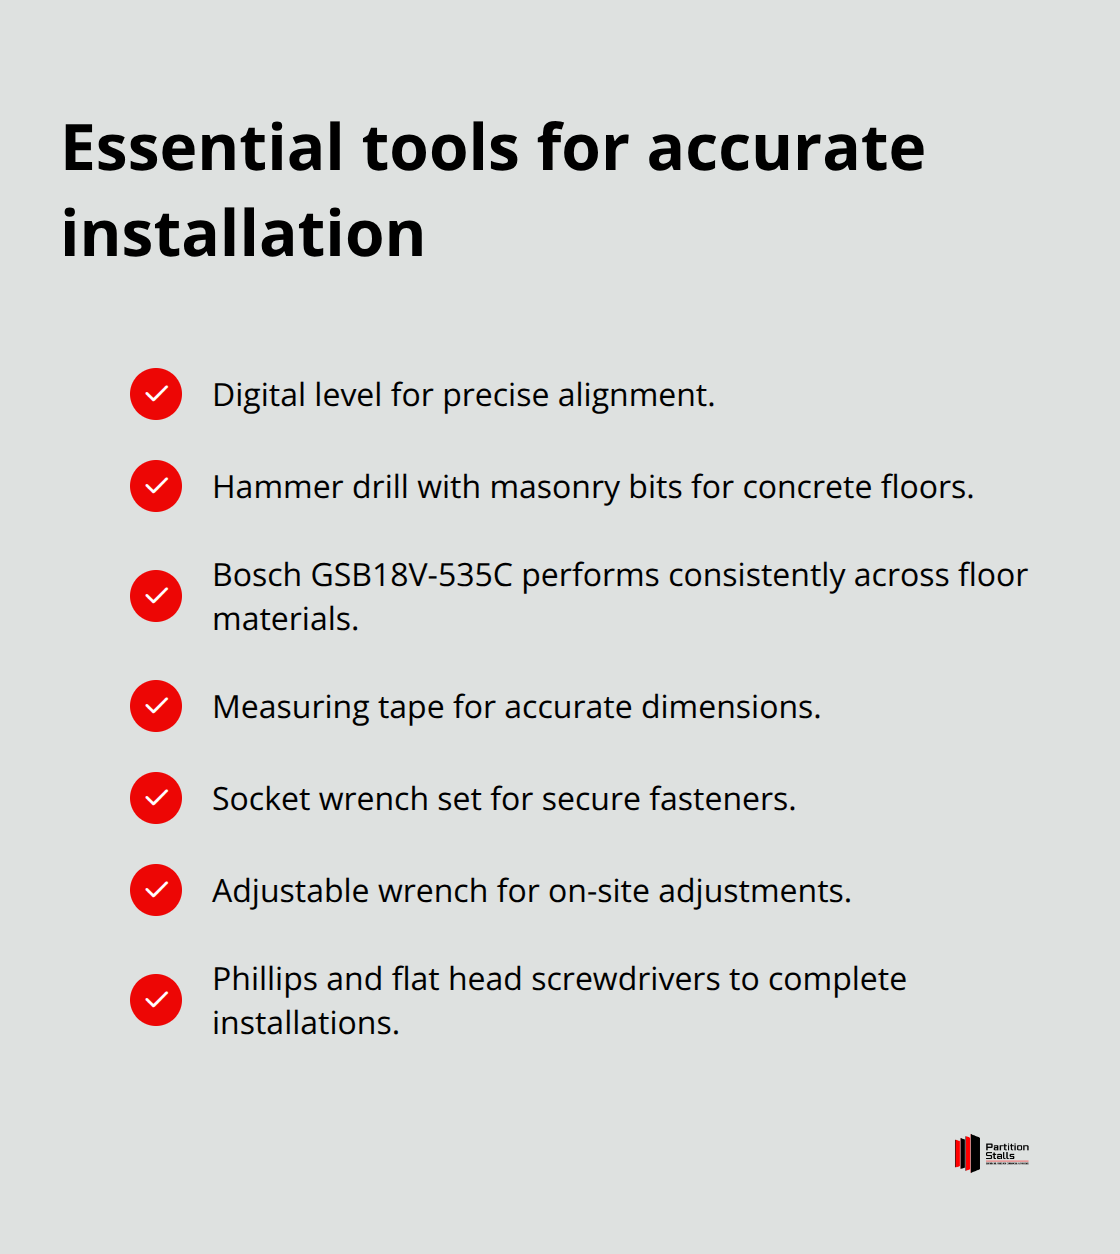
Standard tools include a measuring tape, pencil, socket wrench set, and adjustable wrench. Phillips head screwdrivers and flat head screwdrivers complete basic requirements for most installations.
Essential Hardware Components
Manufacturers typically include floor brackets, wall brackets, and leveling devices with partition packages. Stainless steel bolts resist corrosion better than standard hardware, which extends partition lifespan due to their superior corrosion resistance properties.
Anchor bolts require specific sizes based on floor thickness. Concrete floors need 3-inch minimum penetration depth for secure installation. Panel brackets support 150-200 pounds per connection point when installers mount them properly. Missing hardware delays projects significantly, so verify all components before you start installation.
Safety Equipment Requirements
Safety glasses prevent metal shaving injuries during drill operations. Steel-toed boots protect against dropped panels (each weighs 25-35 pounds). Work gloves improve grip on smooth partition surfaces and prevent cuts from sharp edges.
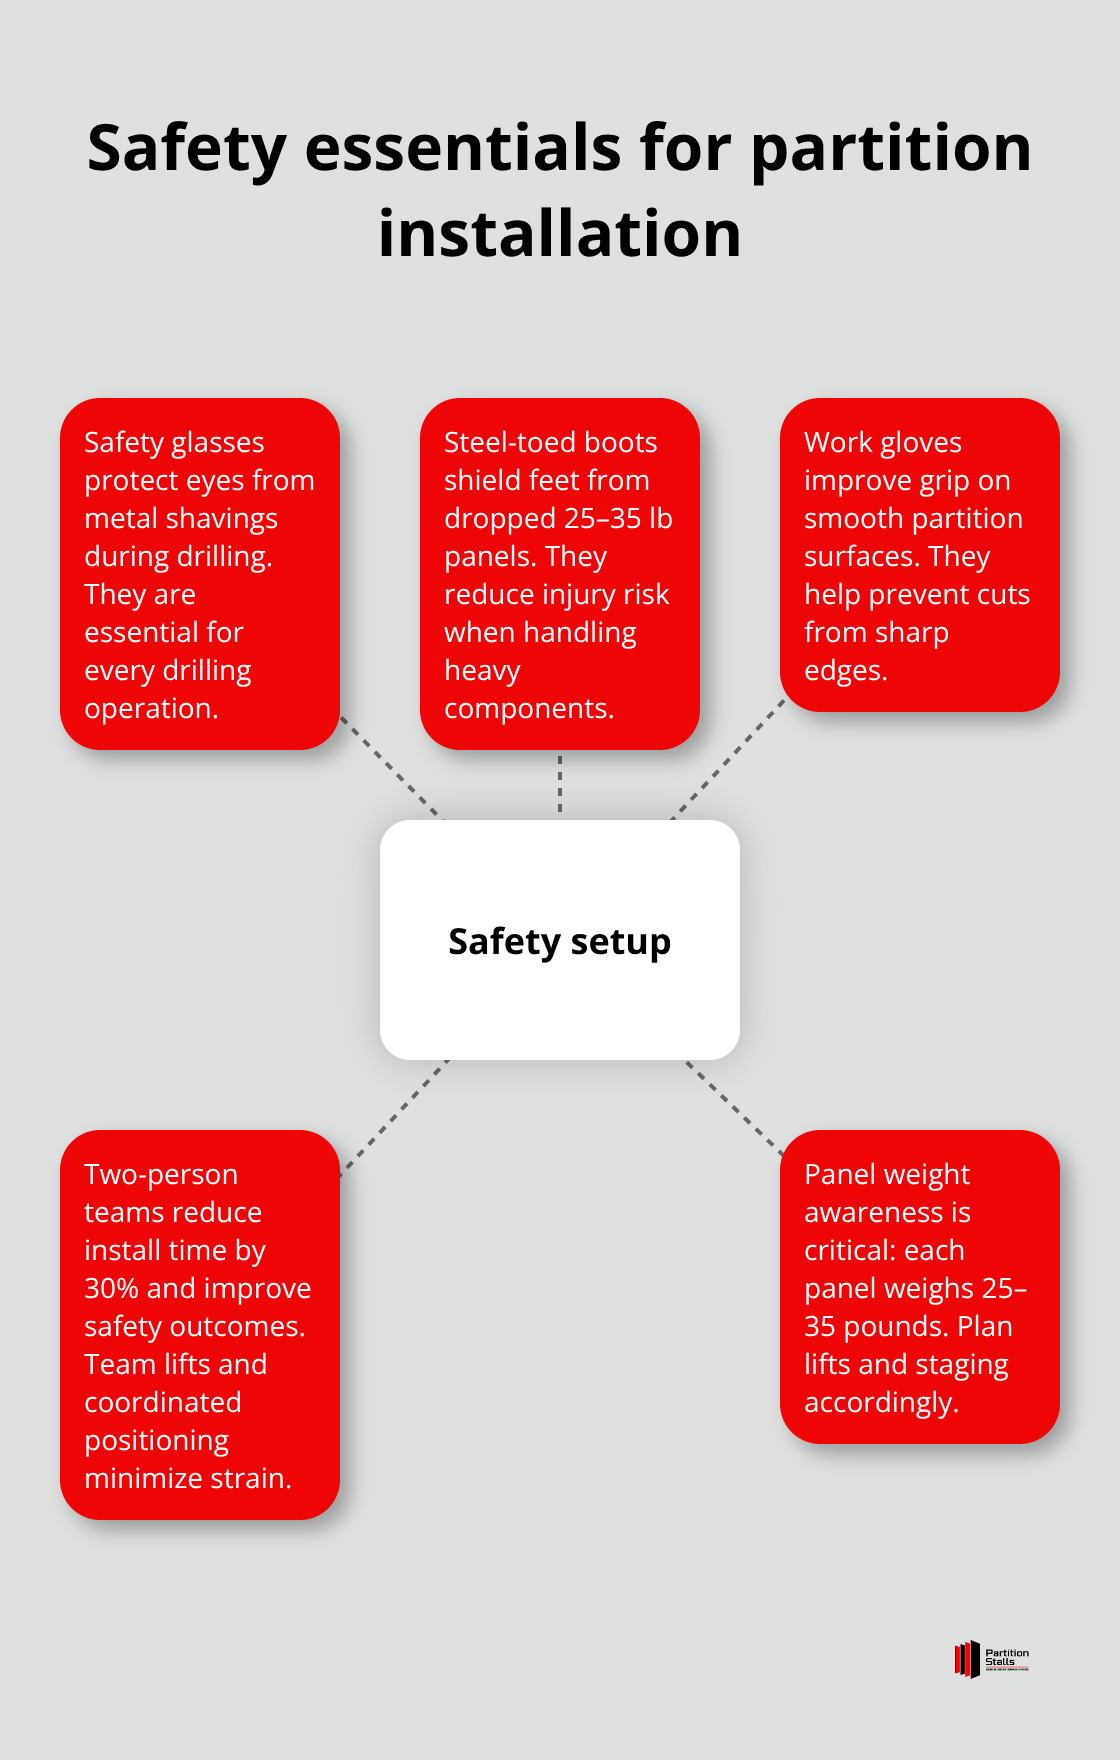
Construction installations present significant workplace safety challenges, with workplace injuries being a documented concern according to occupational safety data. Two-person teams reduce installation time by 30% while they improve safety outcomes.
Pre-Installation Preparations
Clear the work area of obstacles and mark electrical lines before you drill to prevent costly damage. Check floor surfaces for level conditions and note any irregularities that require adjustment. Verify wall surfaces can support bracket loads and identify stud locations for secure mounting.
Store all partition materials flat in a clean, dry area to prevent warping. Temperature fluctuations can affect material dimensions, so allow components to acclimate to room temperature before installation begins. With proper tools and materials ready, you can move forward to the actual measurement and installation process.
Step-by-Step Installation Process
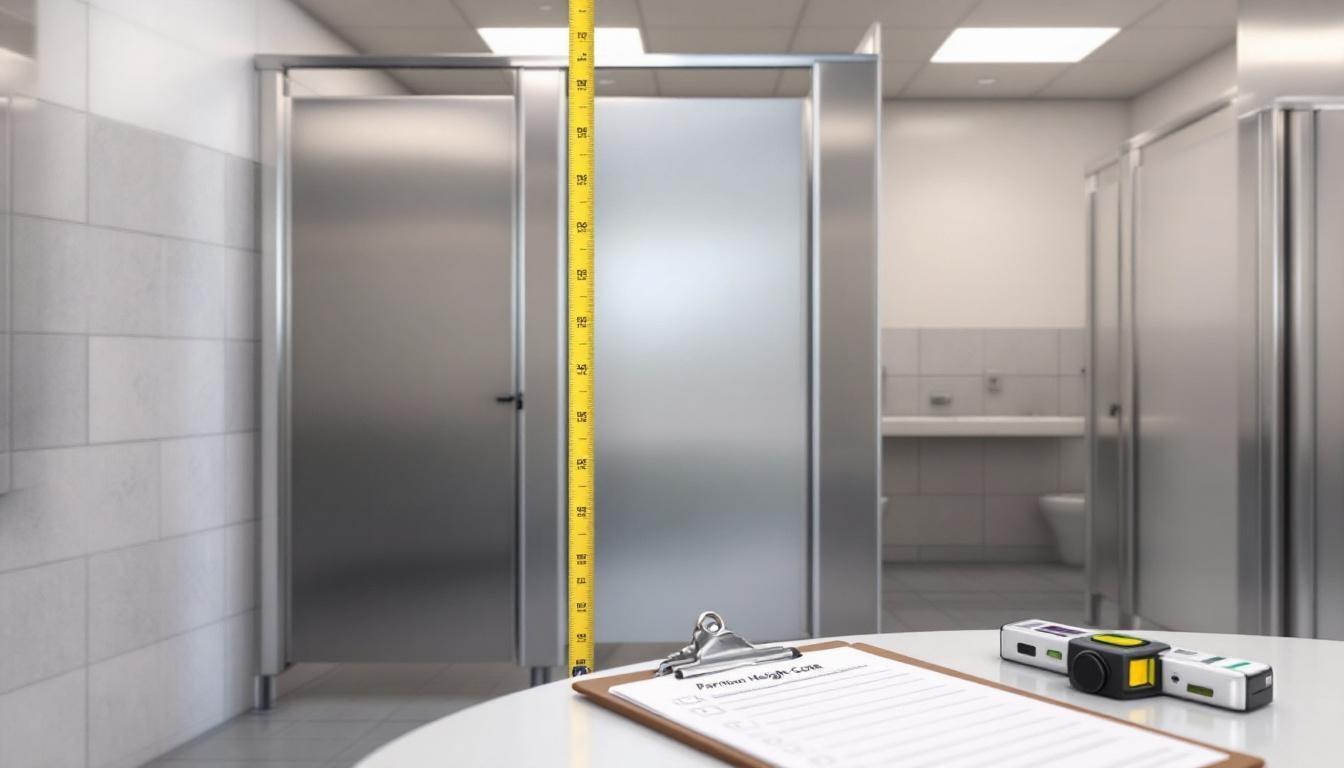
Start installation by establishing the front centerline, which determines accurate placement for all components. Measure the compartment depth and subtract half the pilaster thickness to position floor brackets correctly. Mark these locations with a pencil, then verify measurements twice before drilling.
Professional installers emphasize the importance of accurate initial measurements to prevent alignment problems. Use a digital level to check floor conditions – variations that exceed 1/8 inch require shims to prevent door problems.
Measuring and Marking Wall and Floor Locations
Mark the front centerline first, then calculate bracket positions based on compartment dimensions. Double-check all measurements before you make any permanent marks on floors or walls. Floor irregularities create alignment issues that compound throughout the entire installation process.
Use chalk lines to establish reference points across multiple stalls for consistent placement. Mark wall bracket locations at manufacturer-specified heights (typically 72 inches for standard installations). Verify that all marks align properly before you proceed to the next phase.
Installing Wall Brackets and Floor Supports
Floor brackets require precise depths based on your specific floor material. Concrete installations need 3-inch minimum penetration with hammer drill and masonry bits. Position brackets along the marked centerline and secure with appropriate anchor bolts – galvanized steel anchors provide superior strength compared to standard fasteners.
Wall brackets mount at predetermined heights and require solid backing for proper support. Locate wall studs for maximum capacity, as drywall anchors alone cannot handle the significant loads that partition systems generate. Install all brackets before you position any panels to maintain workflow efficiency.
Mounting Panels and Adjusting for Proper Fit
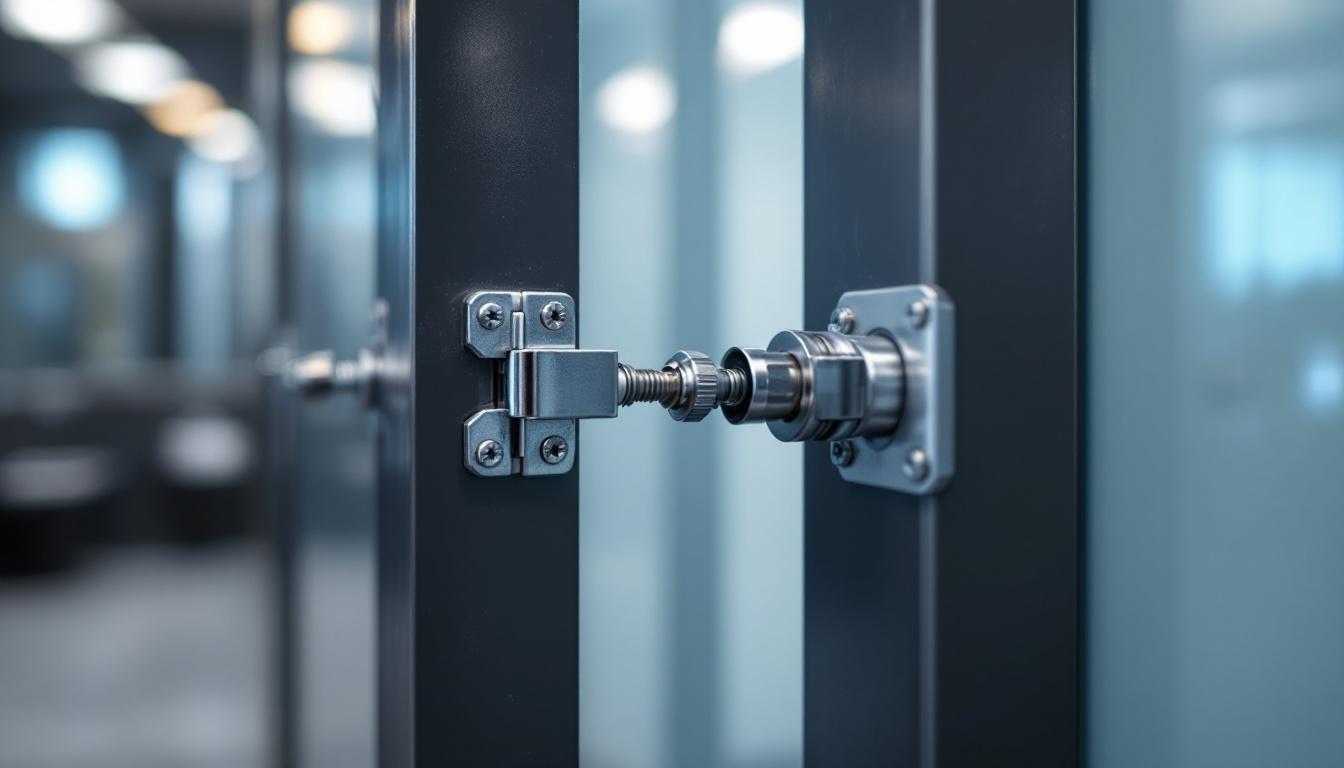
Position panels with the established bracket system, starting with end panels first. Each panel weighs 25-35 pounds, which makes two-person installation teams necessary for safety and accuracy. Attach panels to brackets with provided hardware, then check vertical alignment with your digital level at each connection point.
Pilasters require both floor and wall anchors for stability – single-point mounting leads to eventual loosening and safety hazards. Install doors after pilasters are secure, then adjust hinges to achieve smooth operation without binding. Complete the installation with headrail mounting, which provides final structural integrity and prevents panel movement during daily use.
Even with proper installation techniques, several common mistakes can compromise your partition system’s performance and longevity.
Common Installation Mistakes and How to Avoid Them
Measurement errors represent a significant source of toilet partition installation failures, according to construction industry data. The most expensive mistake involves incorrect centerline calculations, which cascade through the entire installation and require complete reinstallation. Installers who rush initial measurements without double-checking dimensions create these costly problems. Floor irregularities compound these issues – variations that exceed 1/8 inch create door alignment problems that become apparent only after complete installation. Professional installers always use shims to correct floor variations, while DIY attempts often ignore this step until problems emerge.
Measurement Errors That Destroy Project Budgets
Incorrect compartment depth calculations force complete reinstallation in failed projects. Installers who skip the double-check process discover alignment problems only after they mount all components. Centerline miscalculations affect every subsequent measurement, which creates a domino effect throughout the installation. Floor slope variations greater than 1/4 inch over 10 feet require professional leveling before partition installation begins.
Fastener Problems That Compromise Safety
Inadequate anchor depth represents the second most common installation error. Concrete floors require minimum 3-inch penetration depth, yet many installations use insufficient anchor lengths that fail within months. Single-point pilaster mounting creates dangerous instability – dual anchoring to both floor and wall prevents these failures. Drywall anchors alone cannot support partition loads that reach 200 pounds per connection point (steel stud backing provides necessary strength for these installations).
ADA Violations That Trigger Expensive Corrections
Door clearance violations create immediate compliance issues that force expensive corrections. ADA standards require 32-inch minimum clear width when doors open 90 degrees, yet standard residential hinges reduce this clearance significantly. Grab bar placement errors occur when installers mount brackets without verifying wall stud locations – these installations fail inspection and require complete reinstallation with proper backing. Emergency hardware placement must allow operation with closed fist pressure, which eliminates many standard latch mechanisms from compliant installations.
Hardware Selection Mistakes That Lead to Failures
Galvanized steel fasteners corrode in high-moisture environments within 18 months of installation. Stainless steel hardware costs 30% more initially but lasts 10 times longer in commercial restroom applications. Undersized bolts create stress concentration points that crack partition materials under normal use loads. Standard residential hinges cannot handle the 50-75 daily cycles that commercial restroom doors experience.
Final Thoughts
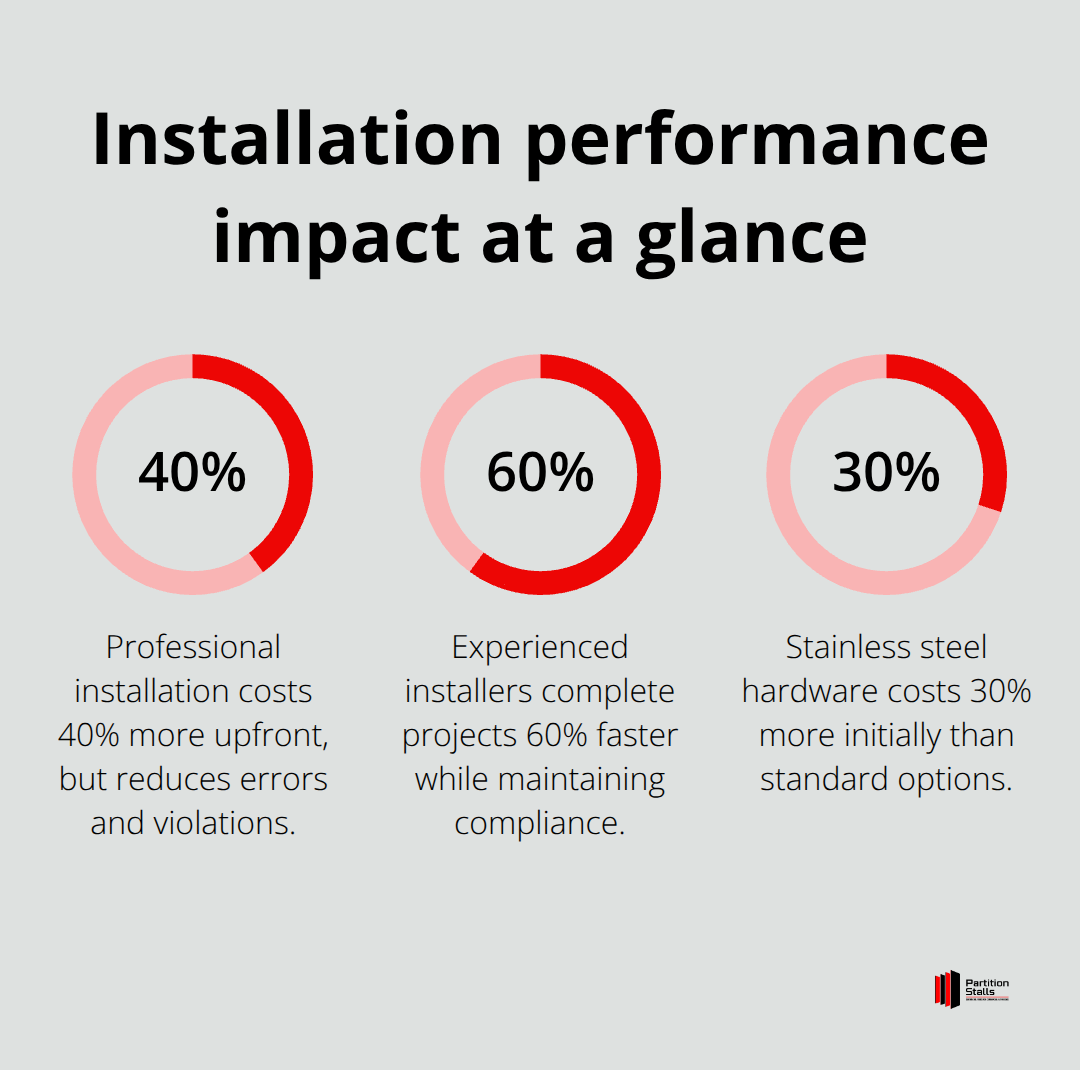
Professional installation costs 40% more upfront but eliminates measurement errors and ADA violations that plague DIY projects. Experienced installers complete installations 60% faster while they maintain compliance standards that protect against costly corrections. DIY installations work for simple single-stall projects, but multi-compartment facilities require expertise that most maintenance teams lack.
Regular maintenance extends partition life significantly through monthly hinge lubrication and quarterly hardware inspections. Stainless steel components require minimal maintenance compared to painted surfaces that need refinishing every 3-5 years. Proper toilet partition installation instructions become complex when facilities deal with floor irregularities and structural requirements (especially in older buildings).
Complex installations with ceiling-hung systems or custom dimensions require professional assessment to avoid structural problems. Contact installation experts when your project involves ADA compliance requirements, concrete floor installation, or more than three compartments. Partition Stalls provides expert guidance and turnkey solutions for commercial restroom projects with free consultations to evaluate your specific installation requirements.