
Partition planning guide 02

How to measure for commercial bathroom partitions.

A useful field package explains the room, fixtures, openings, surfaces, and existing conditions. Use this guide to prepare plans, sketches, dimensions, and photos for quotation—not as a substitute for project verification or approved shop drawings.

Send Project Information
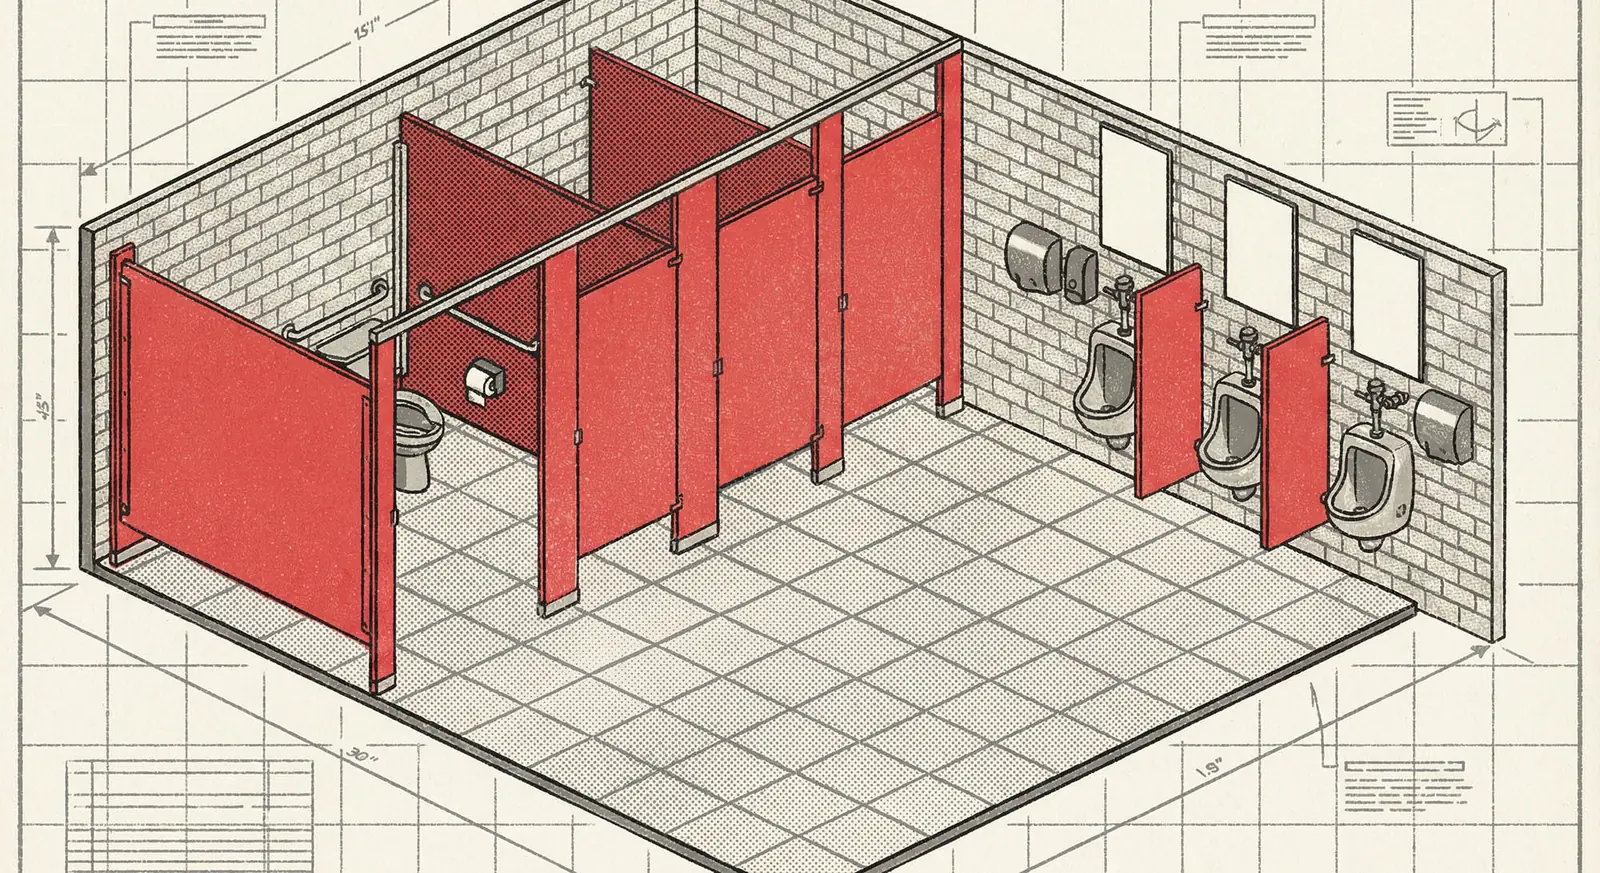
Dimensioned commercial restroom plan showing toilet compartments, urinal screens, and accessories
Field inputsDimensions + fixtures + conditions
Measure from finished surfaces whenever the project stage allows.
Use wide photos for context and close photos for hardware or attachment details.
Label dimensions clearly and use one consistent reference point.
01
Field checklist

Start with the room

Record the finished inside dimensions that define the partition layout.

  • Overall room width and depth
  • Wall returns, chases, columns, and offsets
  • Finished floor elevation and slopes
  • Finished ceiling height where mounting depends on it
02
Field checklist

Locate every fixture

Measure from consistent finished surfaces and identify fixture centerlines.

  • Water closet centerlines
  • Urinal centerlines and screen locations
  • Lavatories, counters, and accessory zones
  • Floor drains, cleanouts, and obstacles affecting pilasters
03
Field checklist

Document openings and movement

Show how people and doors move through the room and compartments.

  • Entry door location and swing
  • Partition door handing and swing preference
  • Required circulation paths
  • Accessible compartment location and project design dimensions
04
Field checklist

Describe the surfaces

The substrate and finished condition affect attachment and coordination.

  • Wall construction and finish
  • Known backing locations
  • Floor and ceiling construction
  • Base, tile, or trim conditions at attachment points
05
Field checklist

Send plans and photos

Visual context helps identify conditions that dimensions alone may miss.

  • Dimensioned plan or clear hand sketch
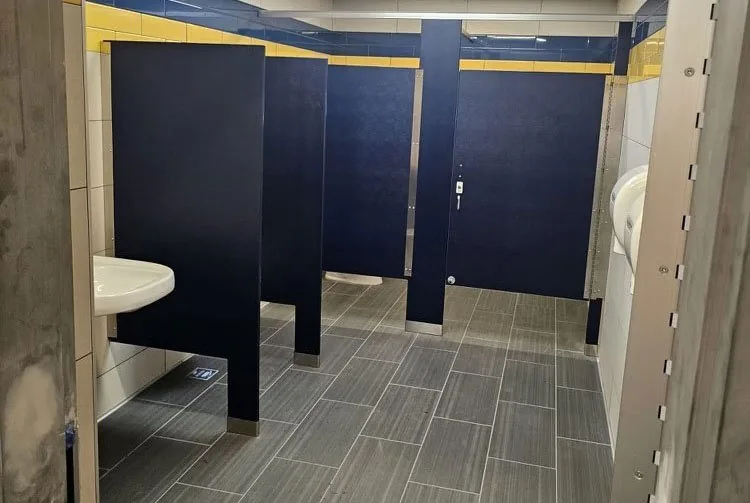
  • Wide photos of every wall
  • Close-ups of existing hardware for replacement work
  • Project location, material preference, quantity, and schedule context
A clear hand sketch can help

Show relationships—not only isolated dimensions.

Indicate the room perimeter, fixtures, partition runs, doors, swings, wall offsets, and accessible compartment location. Add photos and note any dimension that still needs field verification.

WDCL
Coordinate the visual direction

Review colors and finishes after the material family is narrowed.

Finish availability depends on the selected manufacturer and product—not a generic universal palette.

Open the finishes guide
Project-ready support

Ready to send plans, a sketch, or field dimensions?

Use the quote form to submit the project type, material preference, quantity, and message. Our team will follow up on the best way to transfer supporting drawings or photos when needed.